An All American Road Trip - Part Nine
(Little Big Horn)
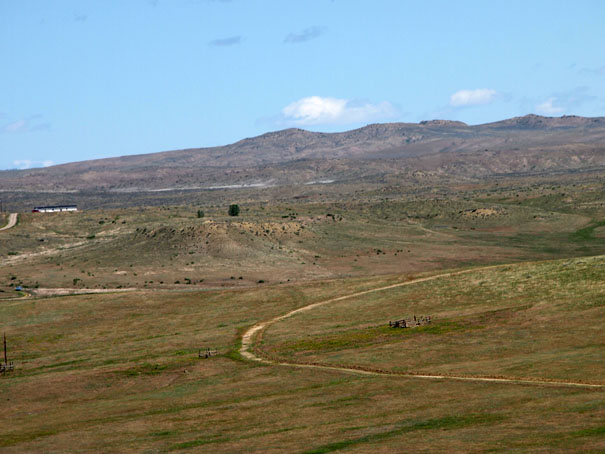
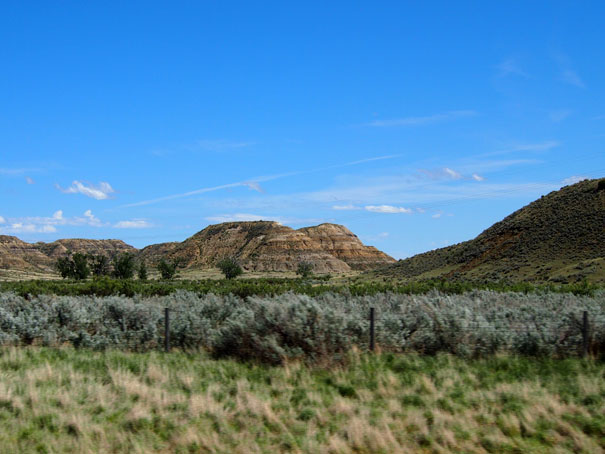
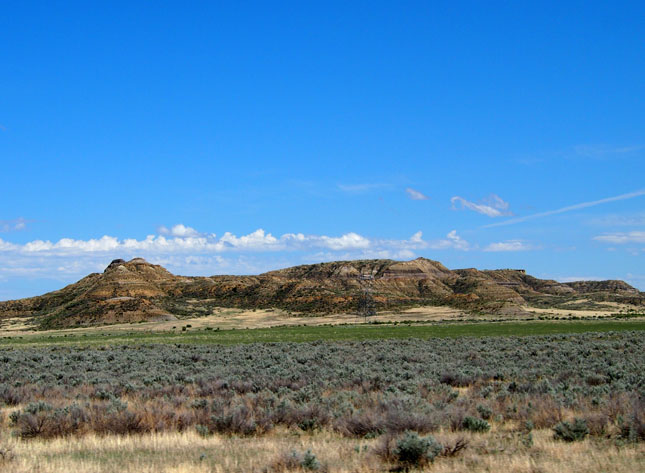
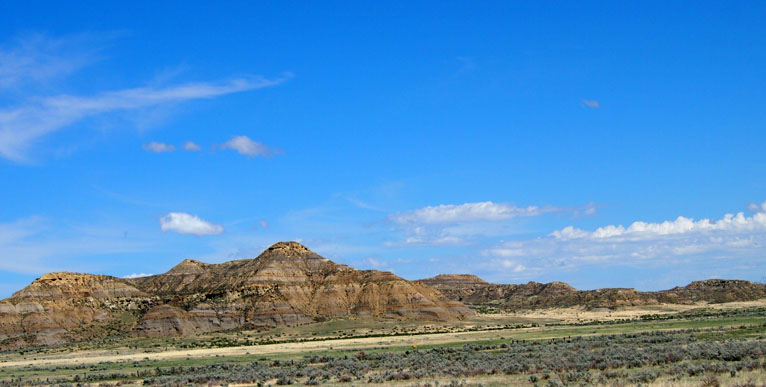
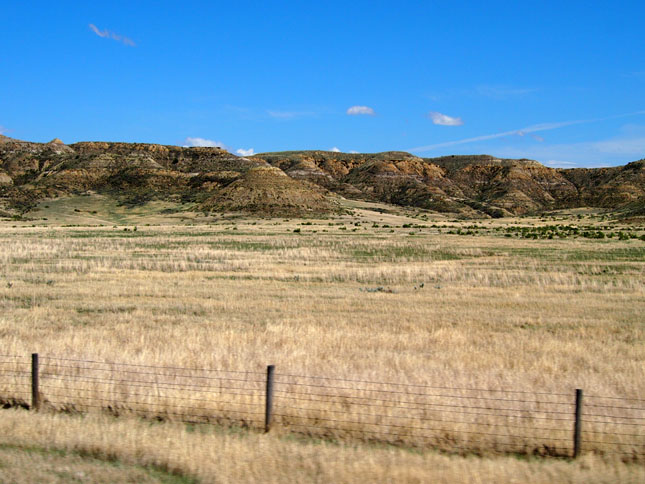
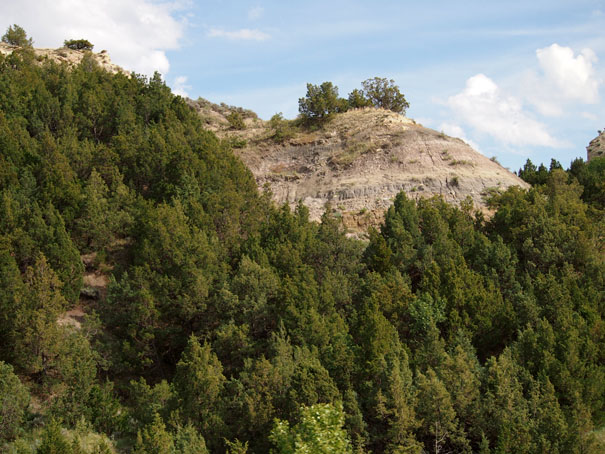
We left Billings, MT heading toward Bismarck but we had one stop to make.
We took a side trip to Little Big Horn to visit the Historic Site.
A Little Historical Background
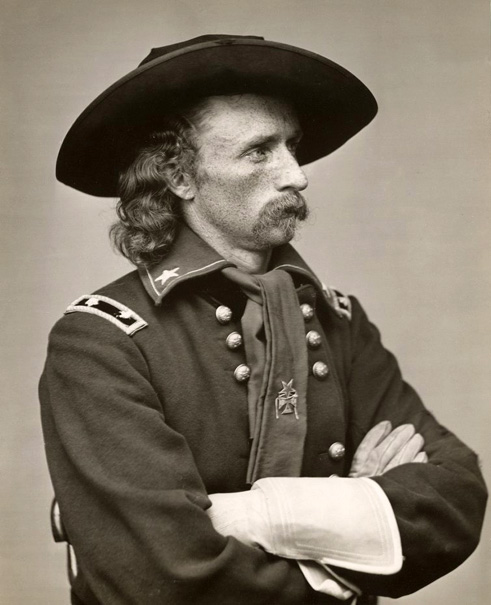
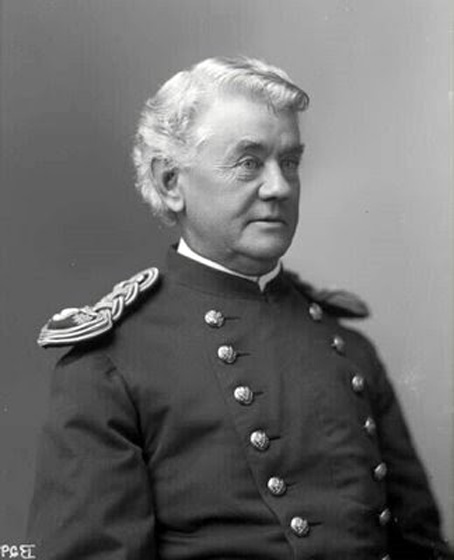
George Armstrong Custer

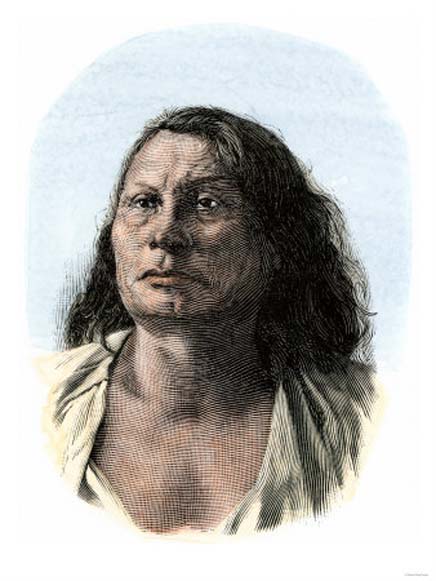
Crazy Horse
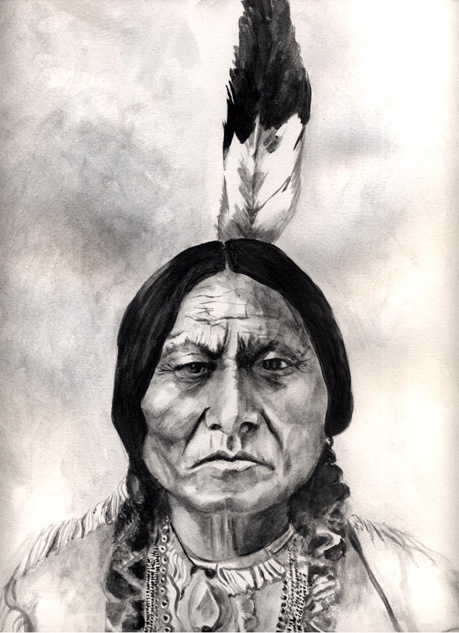
Sitting Bull
Battle of the Little Bighorn
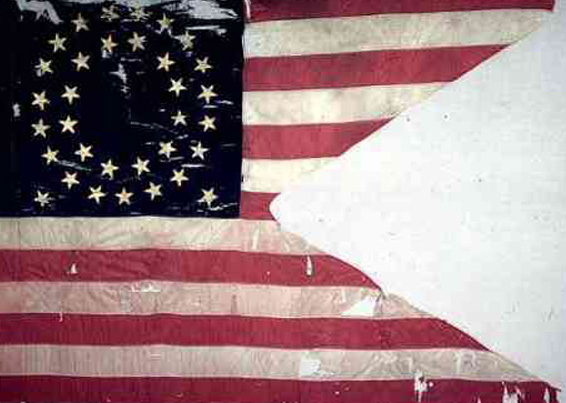
The Battle of the Little Bighorn, also known as Custer's Last Stand and, by the Indians involved, as the Battle of the Greasy Grass, was an armed engagement between combined forces of Lakota, Northern Cheyenne and Arapaho people against the 7th Cavalry Regiment of the United States Army. The battle, which occurred on June 25 and 26, 1876 near the Little Bighorn River in eastern Montana Territory, was the most famous action of the Great Sioux War of 1876. It was an overwhelming victory for the Lakota, Northern Cheyenne, and Arapaho, led by several major war leaders, including Crazy Horse and Gall, inspired by the visions of Sitting Bull. The U.S. Seventh Cavalry, including the Custer Battalion, a force of 700 men led by George Armstrong Custer, suffered a severe defeat. Five of the Seventh's companies were annihilated; Custer was killed, as were two of his brothers, a nephew, and a brother-in-law. The total U.S. casualty count, including scouts, was 268 dead and 55 injured.
Public response to the Great Sioux War varied at the time. The Battle and Custer's actions in particular have been studied extensively by historians.
In 1875, Sitting Bull created the Sun Dance alliance between the Lakota and the Cheyenne, a religious ceremony which celebrates the spiritual rebirth of participants. One had taken place around June 5, 1876, on the Rosebud River in Montana, involving Agency Native Americans who had slipped away from their reservations to join the hostiles. During the event, Sitting Bull reportedly had a vision of "soldiers falling into his camp like grasshoppers from the sky." At the same time, military officials had a summer campaign underway to force the Lakota and Cheyenne back to their reservations, using infantry and cavalry in a three-pronged approach.
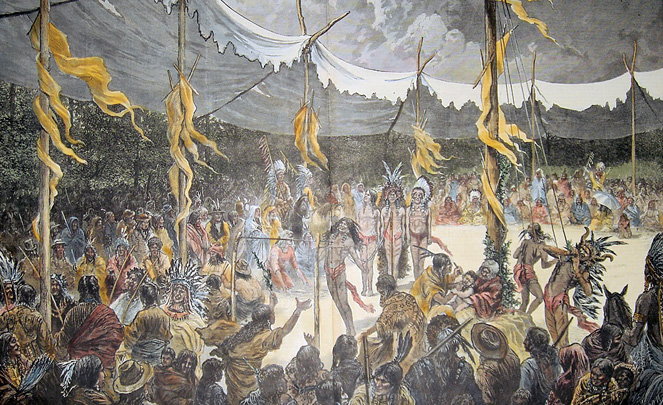
Sun Dance Ceremony
Col. John Gibbon's column of six companies of the 7th Infantry and four companies of the 2nd Cavalry marched east from Fort Ellis in western Montana on March 30, to patrol the Yellowstone River. Brig. Gen. George Crook's column of ten companies of the 3rd Cavalry, five of the 2nd Cavalry, two companies of the 4th Infantry, and three companies of the 9th Infantry, moved north from Fort Fetterman in the Wyoming Territory on May 29, marching toward the Powder River area. Brig. Gen. Alfred Terry's column, including twelve companies of the 7th Cavalry under Lieutenant Colonel George Armstrong Custer's immediate command, two companies of the 17th U.S. Infantry, and the Gatling gun detachment of the 20th Infantry departed westward from Fort Abraham Lincoln in the Dakota Territory on May 17. They were accompanied by teamsters and packers with 150 wagons and a large contingent of pack mules that reinforced Custer.'s column of six companies of the 7th Infantry and four companies of the 2nd Cavalry marched east from Fort Ellis in western Montana on March 30, to patrol the Yellowstone River. Brig. Gen. George Crook's column of ten companies of the 3rd Cavalry, five of the 2nd Cavalry, two companies of the 4th Infantry, and three companies of the 9th Infantry, moved north from Fort Fetterman in the Wyoming Territory on May 29, marching toward the Powder River area. Brig. Gen. Alfred Terry's column, including twelve companies of the 7th Cavalry under Lieutenant Colonel George Armstrong Custer's immediate command, two companies of the 17th U.S. Infantry, and the Gatling gun detachment of the 20th Infantry departed westward from Fort Abraham Lincoln in the Dakota Territory on May 17. They were accompanied by teamsters and packers with 150 wagons and a large contingent of pack mules that reinforced Custer.
Three companies of the 6th U.S. Infantry, moved along the Yellowstone River from Fort Buford on the Missouri River to set up a supply depot, and joined Terry on May 29 at the mouth of the Powder River. They were later joined there by the Far West(a steamboat) which was loaded with 200 tons of supplies from Fort Lincoln.
The coordination and planning began to go awry on June 17, 1876, when Crook's column was delayed after the Battle of the Rosebud. Surprised and, according to some accounts, astonished by the unusually large numbers of Native Americans in the battle, a defeated Crook was compelled to pull back, halt and regroup. Unaware of Crook's battle, Gibbon and Terry proceeded, joining forces in early June near the mouth of the Rosebud River. They reviewed Terry's plan calling for Custer's regiment to proceed south along the Rosebud, while Terry and Gibbon's united forces would move in a westerly direction toward the Bighorn and Little Bighorn rivers. As this was the likely location of Indian encampments, all Army elements were to converge around June 26 or 27, attempting to engulf the Native Americans. On June 22, Terry ordered the 7th Cavalry, composed of 31 officers and 566 enlisted men under Custer, to begin a reconnaissance and pursuit along the Rosebud, with the prerogative to "depart" from orders upon seeing "sufficient reason." Custer had been offered the use of Gatling guns but declined, believing they would slow his command.
While the Terry/Gibbon column was marching toward the mouth of the Little Bighorn, on the evening of June 24, Custer's scouts arrived at an overlook known as the Crow's Nest, 14 miles east of the Little Bighorn River. At sunrise on June 25, Custer's scouts reported they could see a massive pony herd and signs of the Native American village roughly 15 miles in the distance. After a night's march, the tired officer sent with the scouts could see neither, and when Custer joined them, he was also unable to make the sighting. Custer's scouts also spotted the regimental cooking fires that could be seen from 10 miles away, disclosing the regiment's position.
Custer contemplated a surprise attack against the encampment the following morning of June 26, but he then received a report informing him several hostile Indians had discovered the trail left by his troops. Assuming his presence had been exposed, Custer decided to attack the village without further delay. On the morning of June 25, Custer divided his 12 companies into three battalions in anticipation of the forthcoming engagement. Three companies were placed under the command of Major Marcus Reno; and three were placed under the command of Capt. Frederick Benteen. Five companies remained under Custer's immediate command. The 12th, Company B, under Capt. Thomas McDougald, had been assigned to escort the slower pack train carrying provisions and additional ammunition.
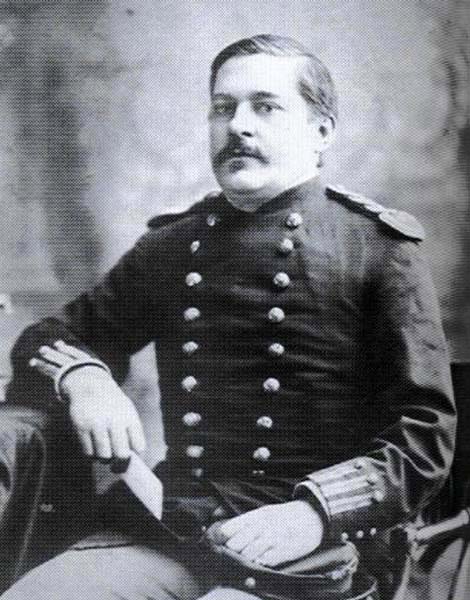
Major Marcus Reno
Captain Frederick Benteen
Unknown to Custer, the group of Native Americans seen on his trail were actually leaving the encampment on the Big Horn and did not alert the village. Custer's scouts warned him about the size of the village, with scout Mitch Bouyer reportedly saying, "General, I have been with these Indians for 30 years, and this is the largest village I have ever heard of." Custer's overriding concern was that the Native American group would break up and scatter in different directions. The command began its approach to the Native American village at 12 noon and prepared to attack in full daylight.
The 7th Cavalry was a veteran organization created just after the American Civil War. Many men were veterans of the war, including most of the leading officers. A significant portion of the regiment had previously served four-and-a-half years at Fort Riley, Kansas, during which time it fought one major engagement and numerous skirmishes, experiencing casualties of 36 killed and 27 wounded. Six other troopers had died of drowning and 51 from cholera epidemics.
The 7th Cavalry - ca 1876
Half of the 7th Cavalry's companies had just returned from 18 months of constabulary duty in the Deep South, having been recalled to Fort Abraham Lincoln to reassemble the regiment for the campaign. About 20 percent of the troopers had been enlisted in the prior seven months, were only marginally trained, and had no combat or frontier experience. A sizable number of these recruits were immigrants from Ireland, England and Germany, just as many of the veteran troopers had been before their enlistments. Archaeological evidence suggests that many of these troopers were malnourished and in poor physical condition, despite being the best-equipped and supplied regiment in the army.
Of the 45 officers and 718 troopers then assigned to the 7th Cavalry (including a second lieutenant detached from the 20th Infantry and serving in Company L), 14 officers (including the regimental commander, Col. Samuel D. Sturgis) and 152 troopers did not accompany the 7th during the campaign. The ratio of troops detached for other duty was not unusual for an expedition of this size, and part of the officer shortage was chronic, due to the Army's rigid seniority system: three of the regiment's 12 captains were permanently detached, and two had never served a day with the 7th since their appointment in July 1866.
Reno's Attack
The first group to attack was Major Reno's second detachment, conducted after receiving orders from Custer written out by Lt. William W. Cooke, as Custer's Crow scouts reported Sioux tribe members were alerting the village. Ordered to charge, Reno began that phase of the battle. The orders, made without accurate knowledge of the village's size, location, or the warriors' propensity to stand and fight, had been to pursue the Native Americans and "bring them to battle." Reno's force crossed the Little Bighorn at the mouth of what is today Reno Creek around 3:00 P.M. They immediately realized that the Lakota and Northern Cheyenne were present "in force and not running away."
Reno advanced rapidly across the open field towards the northwest, his movements masked by the thick bramble of trees that ran along the southern banks of the Little Bighorn River. The same trees on his front right shielded his movements across the wide field over which his men rapidly rode, first with two approximately forty-man companies abreast and eventually with all three charging abreast. The trees also obscured Reno's view of the Native American village until his force had passed that bend on his right front and was suddenly within arrow shot of the village. The tepees in that area were occupied by the Hunkpapa Sioux. Neither Custer nor Reno had much idea of the length, depth and size of the encampment they were attacking, as the village was hidden by the trees. When Reno came into the open in front of the south end of the village, he sent his Arikara and Crow Indian Scouts forward on his exposed left flank. Realizing the full extent of the village's width, Reno quickly suspected what he would later call "a trap" and stopped a few hundred yards short of the encampment.
Chief Gall
He ordered his troopers to dismount and deploy in a skirmish line, according to standard army doctrine. In this formation, every fourth trooper held the horses for the troopers in firing position, with five to ten yards separating each trooper, officers to their rear and troopers with horses behind the officers. This formation reduced Reno's firepower by 25 percent. As Reno's men fired into the village and killed, by some accounts, several wives and children of the Sioux leader, Chief Gall, mounted warriors began streaming out to meet the attack. With Reno's men anchored on their right by the impassable tree line and bend in the river, the Indians rode hard against the exposed left end of Reno's line. After about 20 minutes of long-distance firing, Reno had taken only one casualty, but the odds against him had risen (Reno estimated five to one) and Custer had not reinforced him. Trooper Billy Jackson reported that by then, the Indians had begun massing in the open area shielded by a small hill to the left of the Reno's line and to the right of the Indian village. From this position the Indians mounted an attack of more than 500 warriors against the left and rear of Reno's line, turning Reno's exposed left flank. They forced a hasty withdrawal into the timber along the bend in the river. Here the Indians pinned Reno and his men down and set fire to the brush to try to drive the soldiers out of their position.
After giving orders to mount, dismount and mount again, Reno told his men, "All those who wish to make their escape follow me," and led a disorderly rout across the river toward the bluffs on the other side. The retreat was immediately disrupted by Cheyenne attacks at close quarters. Later Reno reported that three officers and 29 troopers had been killed during the retreat and subsequent fording of the river, with another officer and 13-18 men missing. Most of these men were left behind in the timber, although many eventually rejoined the detachment. Reno's hasty retreat may have been precipitated by the death of Reno's Arikara Scout Bloody Knife, who had been shot in the head as he sat on his horse next to Reno, his blood and brains splattering the side of Reno's face.
Reno and Benteen on Reno Hill
Atop the bluffs, known today as Reno Hill, Reno's shaken troops were joined by Captain Benteen Atop the bluffs, known today as Reno Hill, Reno's shaken troops were joined by Captain Benteen's column, arriving from the south. This force had been on a lateral scouting mission when it had been summoned by Custer's messenger, Italian bugler John Martin (Giovanni Martini) with the hand-written message "Come on...big village, be quick...bring pacs" ("pacs" referring to ammunition, meaning that by this time Custer was most likely aware of the large numbers of Indians they were having to face). Benteen's coincidental arrival on the bluffs was just in time to save Reno's men from possible annihilation. Their detachments were reinforced by McDougall's Company B and the pack train. The 14 officers and 340 troopers on the bluffs organized an all-around defense and dug rifle pits using whatever implements they had among them, including knives. This practice had become standard during the last year of the American Civil War, with both Union and Confederates troops utilizing knives, eating utensils, mess plates and pans, to dig effective battlefield fortifications.
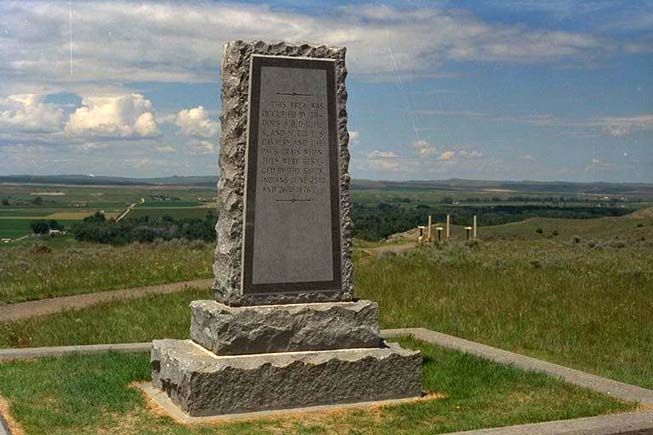
The monument atop the point known as Reno Hill, site of the Reno-Benteen Entrenchments
Despite hearing heavy gunfire from the north, including distinct volleys at 4:20 pm, Benteen concentrated on reinforcing Reno's badly wounded and hard-pressed detachment, rather than continuing on toward Custer. Benteen's apparent reluctance to reach Custer prompted later criticism that he had failed to follow orders. Around 5:00 pm, Captain Thomas Weir and Company D moved out against orders to make contact with Custer. They advanced a mile, to what is today Weir Ridge or Weir Point, and could see in the distance Indian warriors on horseback shooting at objects on the ground. By this time, roughly 5:25 pm, Custer's battle may have concluded. The conventional historical understanding is that what Weir witnessed was most likely warriors killing the wounded soldiers and shooting at dead bodies on the "Last Stand Hill" at the northern end of the Custer battlefield. Some contemporary historians have suggested that what Weir witnessed was a fight on what is now called Calhoun Hill. The destruction of Keogh's battalion may have begun with the collapse of L, I and C Company following the combined assaults led by Crazy Horse, White Bull, Hump, Gall and others. Other Indian accounts contradict this understanding, however, and the time element remains a subject of debate. The other entrenched companies eventually followed Weir by assigned battalions, first Benteen, then Reno, and finally the pack train. Growing Indian attacks around Weir Ridge forced all seven companies to return to the bluff before the pack train, with the ammunition, had moved even a quarter mile. There, they remained pinned down for another day, but the Indians were unable to breach this tightly held position.
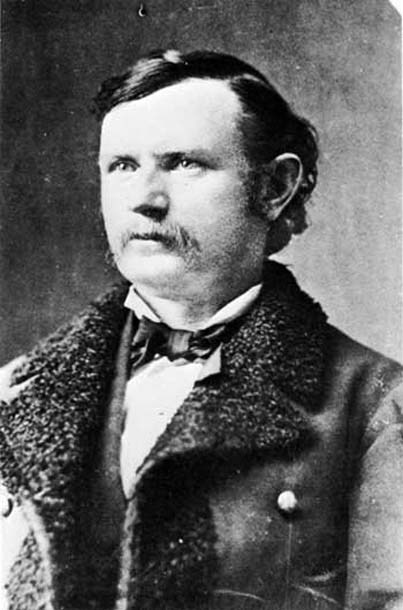
Thomas B. Weir
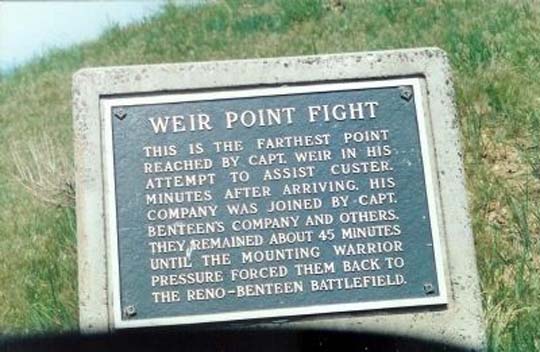
Weir Ridge
Benteen displayed calmness and courage by exposing himself to Indian fire and was hit in the heel of his boot by an Indian bullet. At one point, he personally led a counterattack to push back Indians who had continued to crawl through the grass closer to the soldier's positions.
Benteen's column arrived from the south. This force had been on a lateral scouting mission when it had been summoned by Custer's messenger, Italian bugler John Martin (Giovanni Martini) with the hand-written message "Come on...big village, be quick...bring pacs" ("pacs" referring to ammunition, meaning that by this time Custer was most likely aware of the large numbers of Indians they were having to face). Benteen's coincidental arrival on the bluffs was just in time to save Reno's men from possible annihilation. Their detachments were reinforced by McDougall's Company B and the pack train. The 14 officers and 340 troopers on the bluffs organized an all-around defense and dug rifle pits using whatever implements they had among them, including knives. This practice had become standard during the last year of the American Civil War, with both Union and Confederates troops utilizing knives, eating utensils, mess plates and pans, to dig effective battlefield fortifications.
Despite hearing heavy gunfire from the north, including distinct volleys at 4:20 pm, Benteen concentrated on reinforcing Reno's badly wounded and hard-pressed detachment, rather than continuing on toward Custer. Benteen's apparent reluctance to reach Custer prompted later criticism that he had failed to follow orders. Around 5:00 pm, Capt. Thomas Weir and Company D moved out against orders to make contact with Custer. They advanced a mile, to what is today Weir Ridge or Weir Point, and could see in the distance Indian warriors on horseback shooting at objects on the ground. By this time, roughly 5:25 pm, Custer's battle may have concluded. The conventional historical understanding is that what Weir witnessed was most likely warriors killing the wounded soldiers and shooting at dead bodies on the "Last Stand Hill" at the northern end of the Custer battlefield. Some contemporary historians have suggested that what Weir witnessed was a fight on what is now called Calhoun Hill. The destruction of Keogh's battalion may have begun with the collapse of L, I and C Company (half of it) following the combined assaults led by Crazy Horse, White Bull, Hump, Gall and others.[27] Other Indian accounts contradict this understanding, however, and the time element remains a subject of debate. The other entrenched companies eventually followed Weir by assigned battalions, first Benteen, then Reno, and finally the pack train. Growing Indian attacks around Weir Ridge forced all seven companies to return to the bluff before the pack train, with the ammunition, had moved even a quarter mile. There, they remained pinned down for another day, but the Indians were unable to breach this tightly held position.
Benteen displayed calmness and courage by exposing himself to Indian fire and was hit in the heel of his boot by an Indian bullet. At one point, he personally led a counterattack to push back Indians who had continued to crawl through the grass closer to the soldier's positions.
Custer's Fight
Interpretations of Custer's fight are conjecture, since none of his men survived the battle. The accounts of surviving Indians are conflicting and unclear.
While the gunfire heard on the bluffs by Reno and Benteen's men was probably from Custer's fight, the soldiers on Reno Hill were unaware of what had happened to Custer until General Terry's arrival on June 26. They were reportedly stunned by the news. When the army examined the Custer battle site, soldiers could not determine fully what had transpired. Custer's force of roughly 210 men had been engaged by the Lakota and Northern Cheyenne about 3.5 miles to the north. Evidence of organized resistance included apparent breastworks made of dead horses on Custer Hill. By this time, the Indians had already removed most of their dead from the field. The soldiers identified the 7th Cavalry's dead as best as possible and hastily buried them where they fell. By the time troops came to recover the bodies, they found most of the dead stripped of their clothing, ritually mutilated, and in an advanced state of decomposition, making identification of many impossible.
Custer was found with shots to the left chest and left temple. Either wound would have been fatal, though he appeared to have bled from only the chest wound, meaning his head wound may have been delivered post-mortem. He also suffered a wound to the arm. Some Lakota oral histories assert that Custer committed suicide to avoid capture and subsequent torture. Several Indian accounts note several soldiers committing suicide near the end of the battle. The account of Custer's suicide is usually discounted since the wounds were inconsistent with his known right-handedness. His body was found near the top of Custer Hill, which also came to be known as "Last Stand Hill." There the United States erected a tall memorial obelisk inscribed with the names of the 7th Cavalry's casualties.
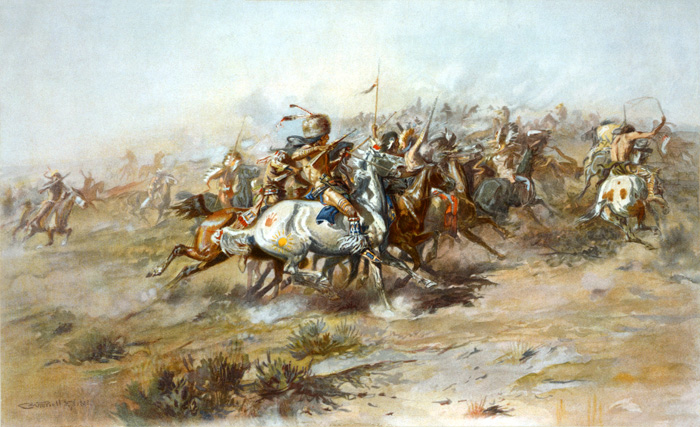
The Custer Fight
by Charles Marion Russell, 1903
Several days after the battle, Curley, Custer's Crow scout who had left Custer near Medicine Tail Coulee, recounted the battle, reporting that Custer had attacked the village after attempting to cross the river. He was driven back, retreating toward the hill where his body was found. As the scenario seemed compatible with Custer's aggressive style of warfare and with evidence found on the ground, it was the basis of many popular accounts of the battle.
But Chief Gall, a major participant, told Lt. Edward Settle Godfrey that Custer never came close to the river. In turn, some Cheyenne and Sioux warriors criticized Gall's account of the battle, so there remain questions about what took place.
Cheyenne oral tradition credits Buffalo Calf Road Woman with striking the blow that knocked Custer off his horse before he died.
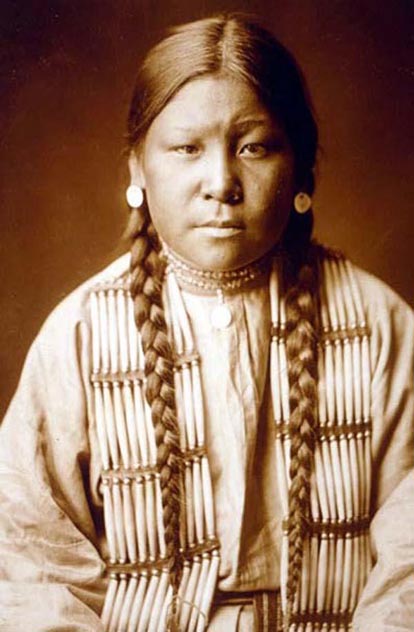
Buffalo Calf Road Woman
Last Stand Hill
In the end, the hilltop was probably too small to accommodate the survivors and wounded. Fire from the southeast made it impossible for Custer's men to secure a defensive position all around Last Stand Hill. On Last Stand Hill, the soldiers put up their most dogged defense. According to native accounts, far more Indian casualties occurred in the attack on Last Stand Hill than anywhere else. The extent of the soldiers' resistance indicated they had few doubts about their prospects for survival. According to Cheyenne and Sioux testimony, the command structure rapidly broke down, although smaller "last stands" were apparently made by several groups. Custer's remaining companies were soon eradicated.
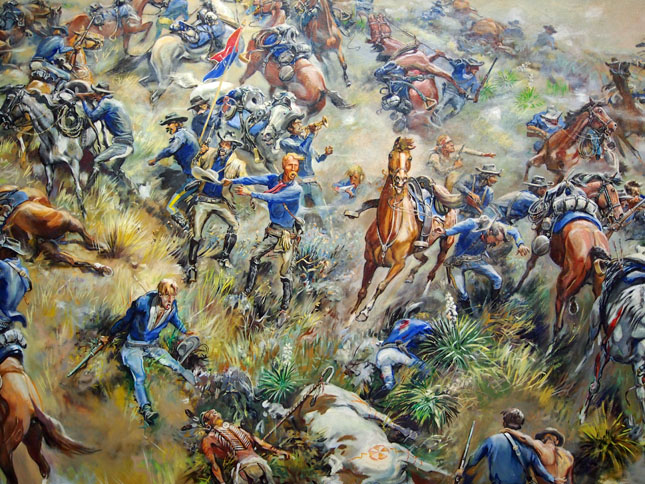
Custer's Last Stand
By almost all accounts, the Lakota annihilated Custer's force within an hour of engagement. David Humphreys Miller, who between 1935 and 1955 interviewed the last Indian survivors of the battle, wrote that the Custer fight lasted less than one-half hour. Other Indian accounts said the fighting lasted only "as long as it takes a hungry man to eat a meal." The Lakota asserted that Crazy Horse personally led one of the large groups of warriors who overwhelmed the cavalrymen in a surprise charge from the northeast, causing a breakdown in the command structure and panic among the troops. Many of these men threw down their weapons while Cheyenne and Sioux warriors rode them down, "counting coup" with lances, coup sticks, and quirts. Some Indian accounts recalled this segment of the fight as a "buffalo run."
Quoted From: Battle of the Little Bighorn - Wikipedia
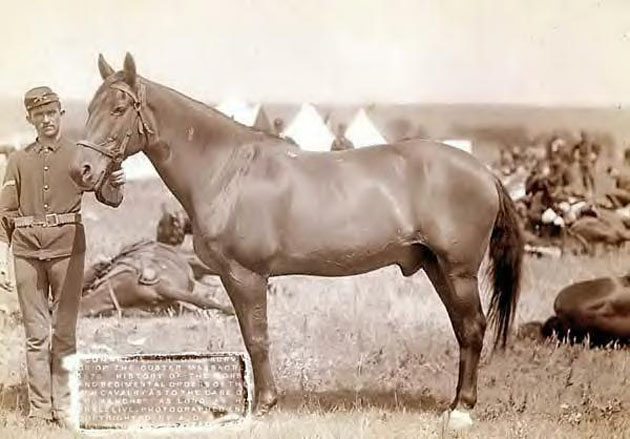
Camanche, 1887, only survivor of Custer's Last Stand
On June 25, 1876, Captain Keogh rode Comanche at the Battle of the Little Bighorn, led by Lt Col. George Armstrong Custer. The battle was notable as their entire detachment was killed. US soldiers found Comanche, badly wounded, two days after the battle. After being transported to Fort Lincoln, he was slowly nursed back to health. After a lengthy convalescence, Comanche was retired. In April 1878, Colonel Samuel D. Sturgis issued the following order:
Headquarters Seventh United States Cavalry, Fort A. Lincoln, D. T., April 10th, 1878. General Orders No. 7.
(1.) The horse known as 'Comanche,' being the only living representative of the bloody tragedy of the Little Big Horn, June 25th, 1876, his kind treatment and comfort shall be a matter of special pride and solicitude on the part of every member of the Seventh Cavalry to the end that his life be preserved to the utmost limit. Wounded and scarred as he is, his very existence speaks in terms more eloquent than words, of the desperate struggle against overwhelming numbers of the hopeless conflict and the heroic manner in which all went down on that fatal day.
(2.) The commanding officer of Company I will see that a special and comfortable stable is fitted up for him, and he will not be ridden by any person whatsoever, under any circumstances, nor will he be put to any kind of work.
(3.) Hereafter, upon all occasions of ceremony of mounted regimental formation, 'Comanche,' saddled, bridled, and draped in mourning, and led by a mounted trooper of Company I, will be paraded with the regiment.
By command of Col. Sturgis, E. A. Garlington, First Lieutenant and Adjutant, Seventh Cavalry."
Quoted From: Comanche (horse) - WikipediaOur Visit to the Little Big Horn National Monument - June 2012
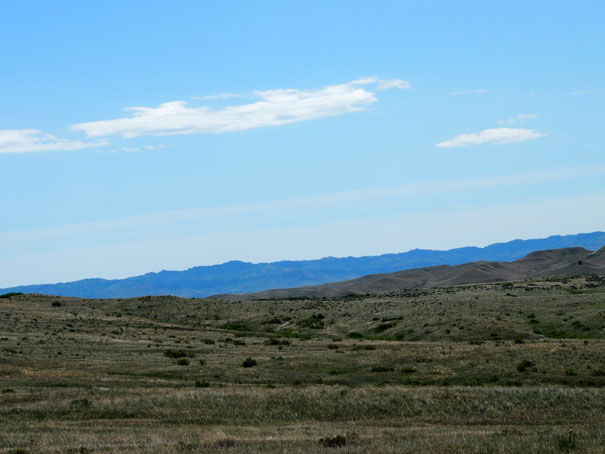
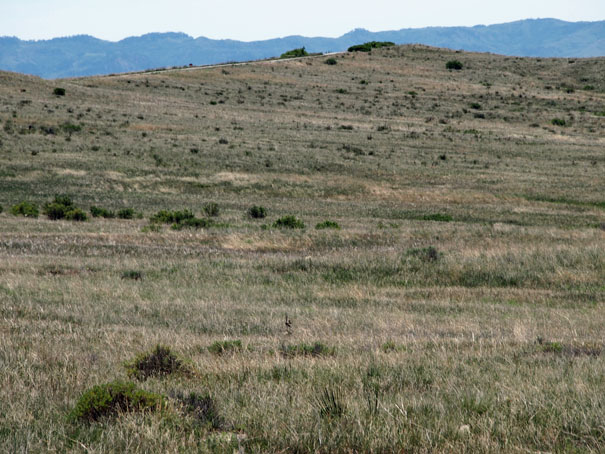
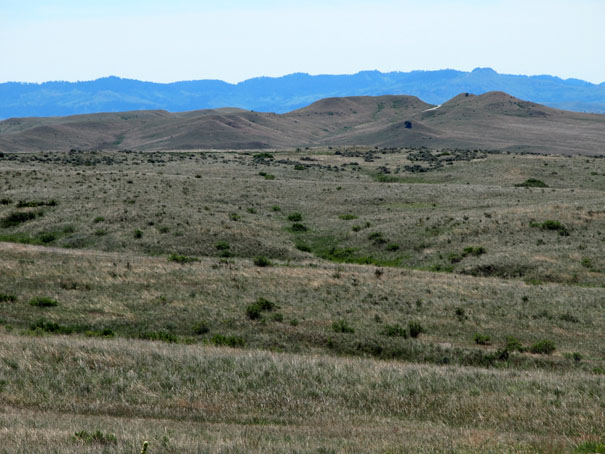
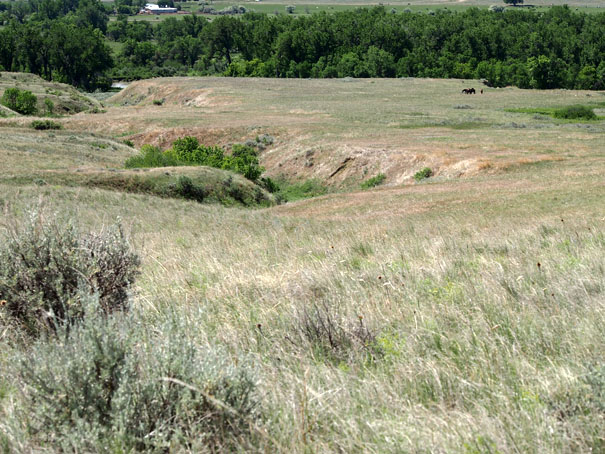
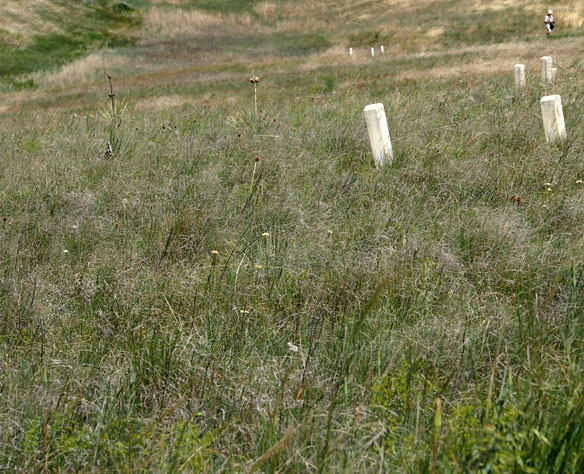
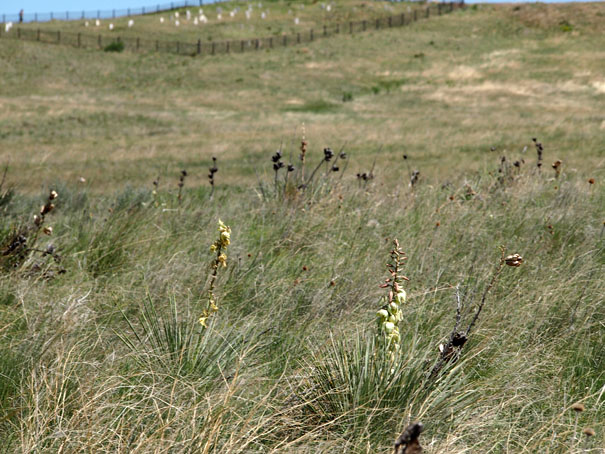
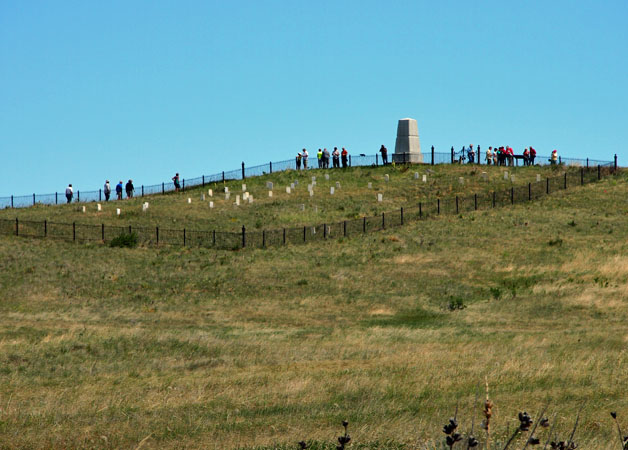
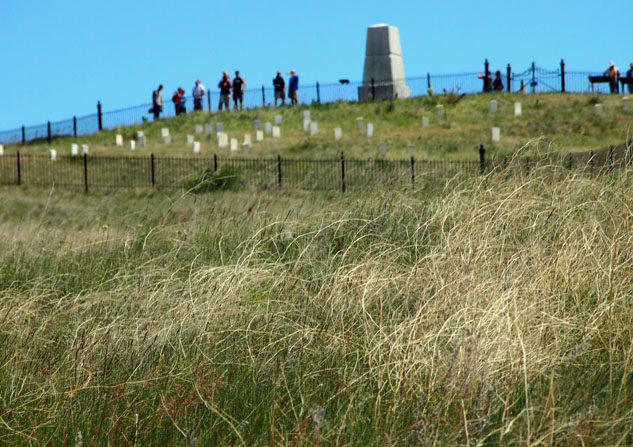
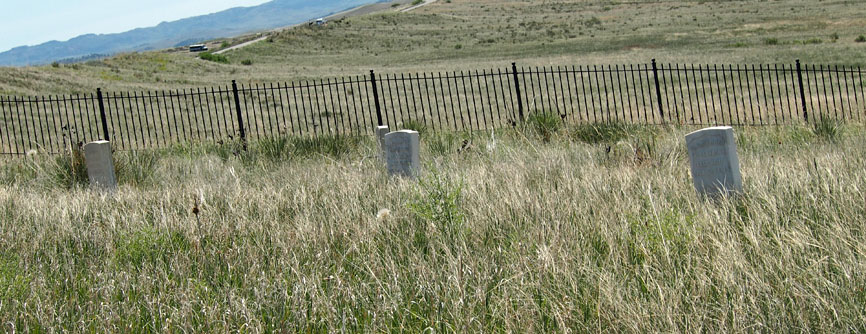
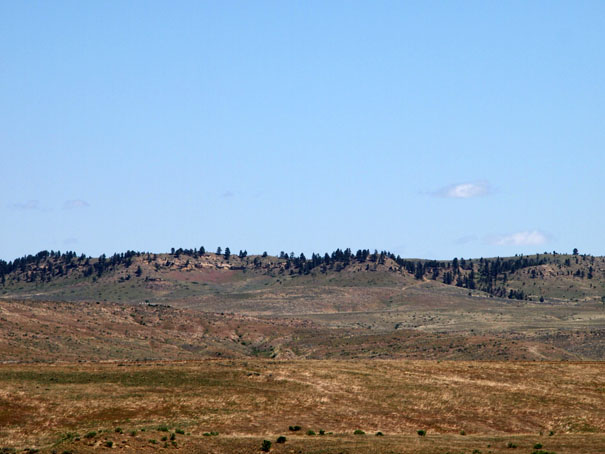
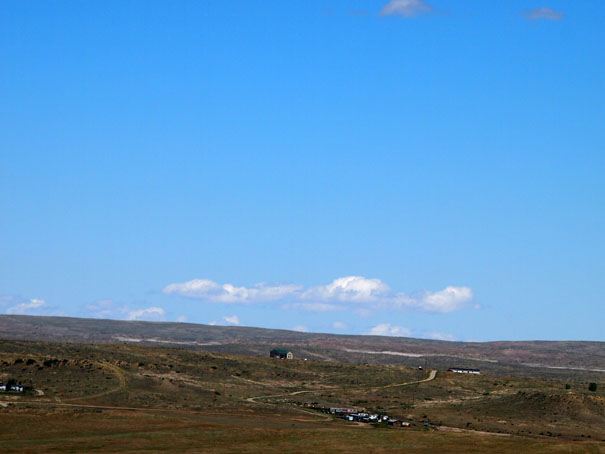
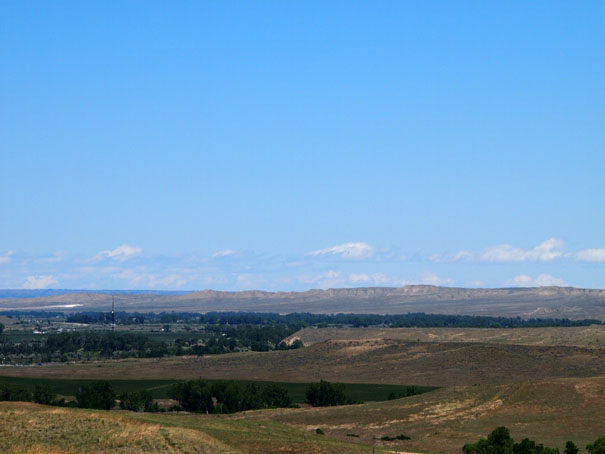
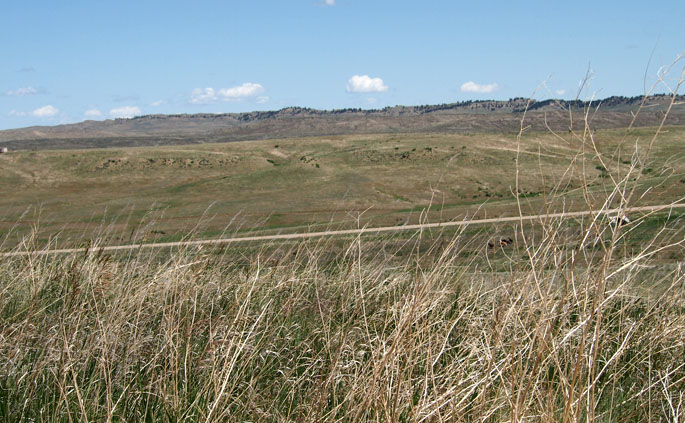
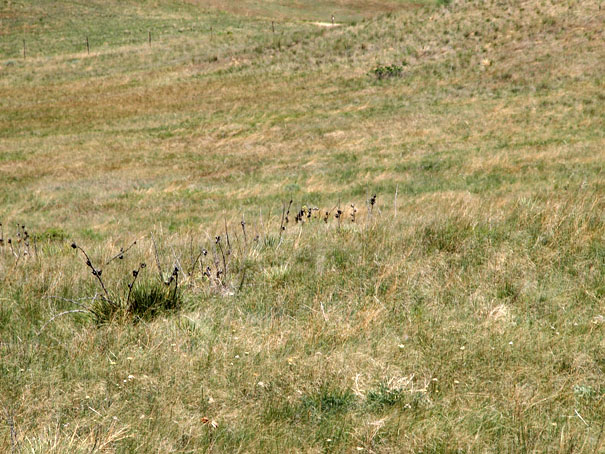
Little Big Horn - Much More Peaceful than June of 1876
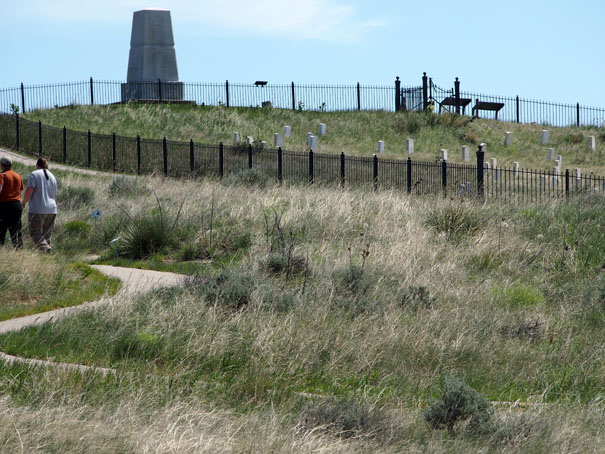
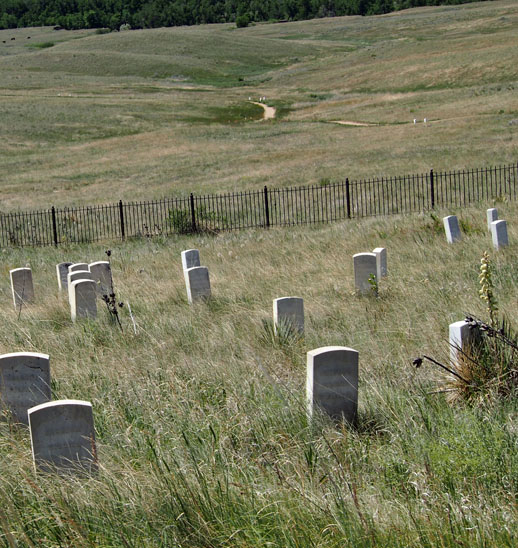
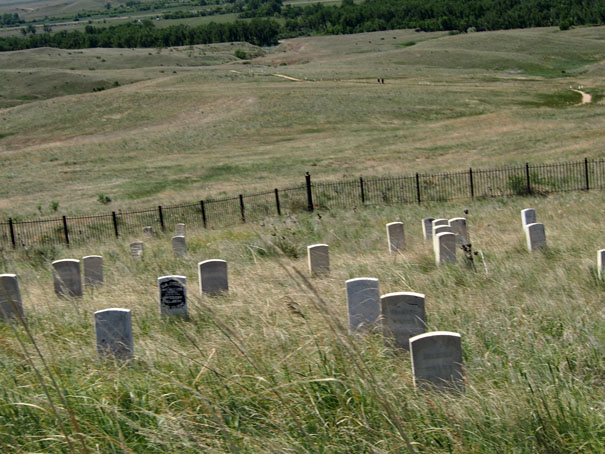
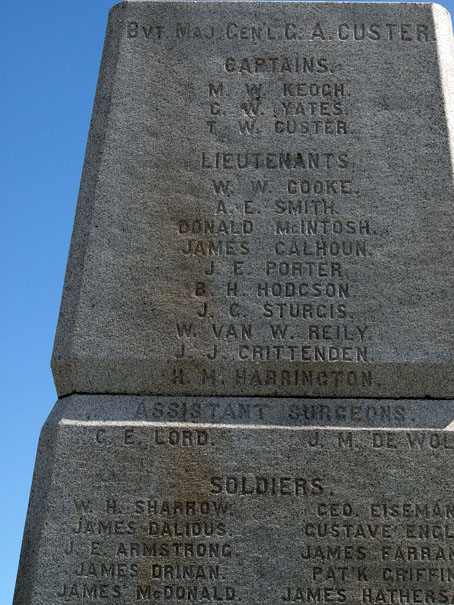
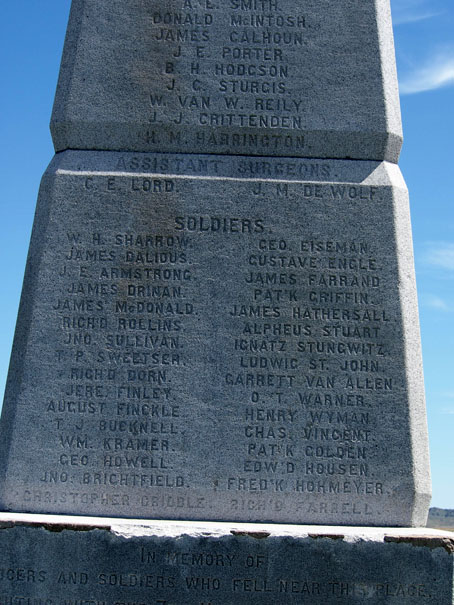
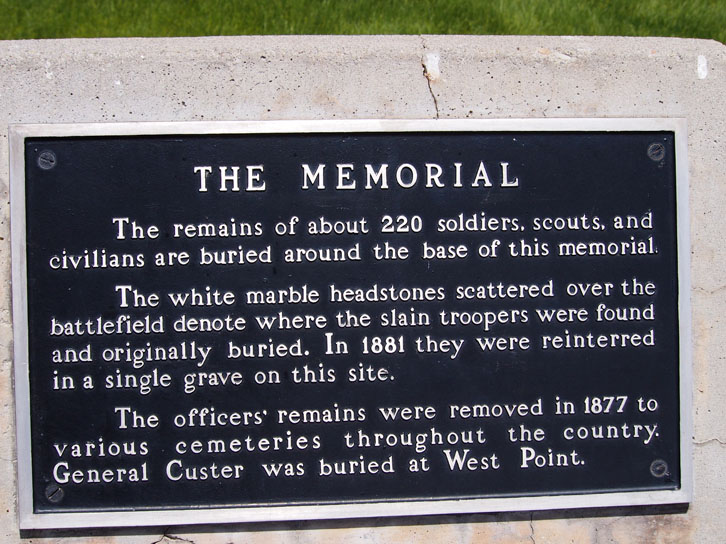
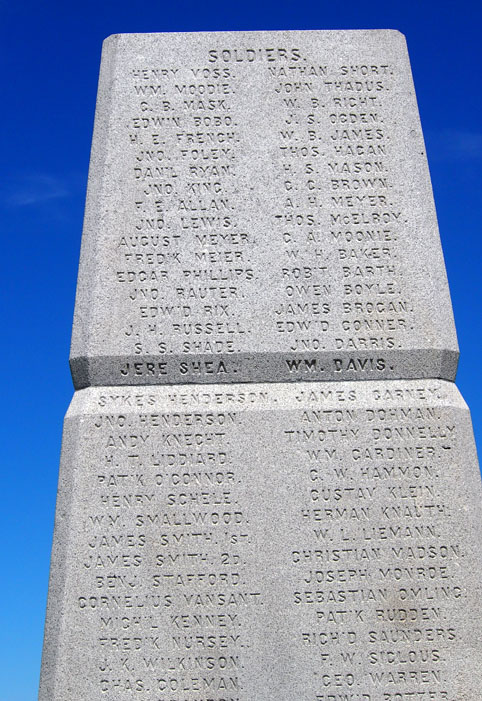
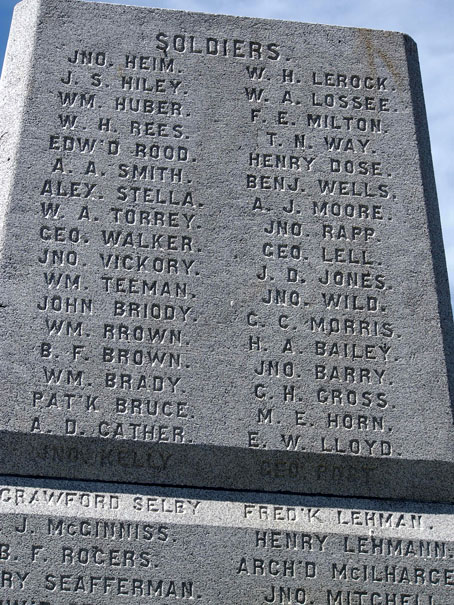
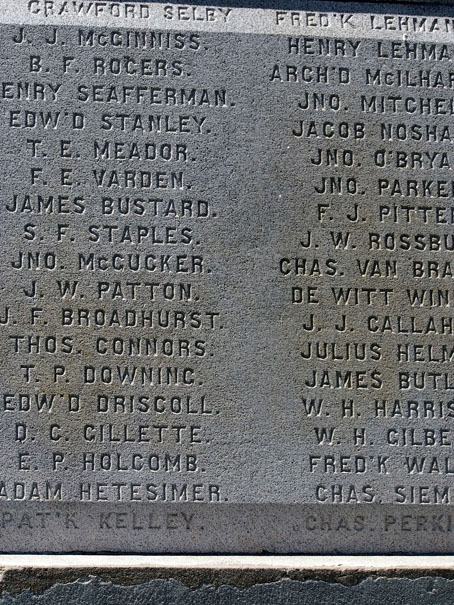
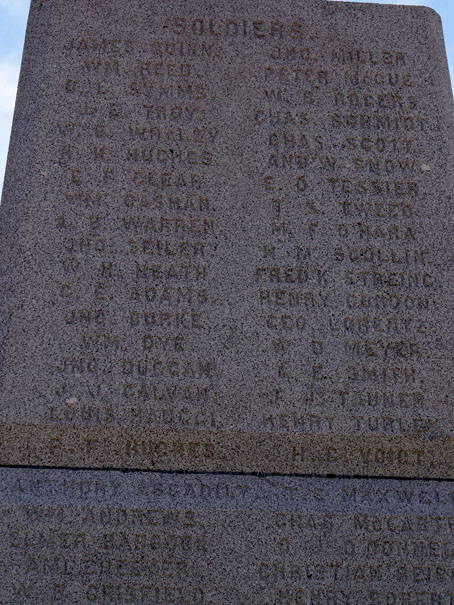
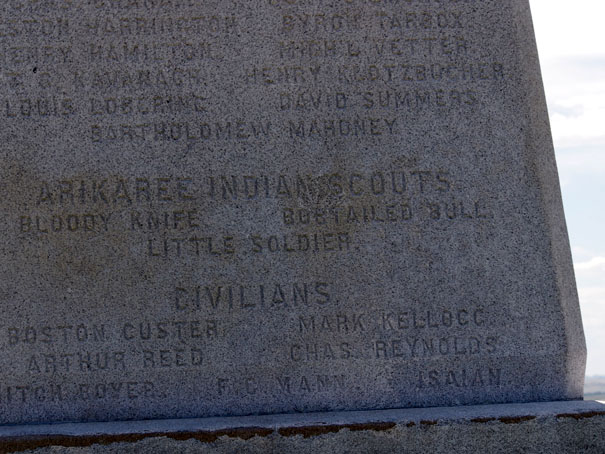
Last Stand Hill Monument
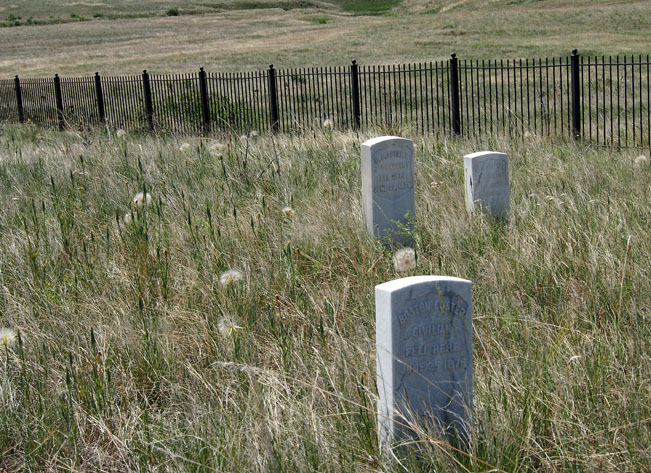
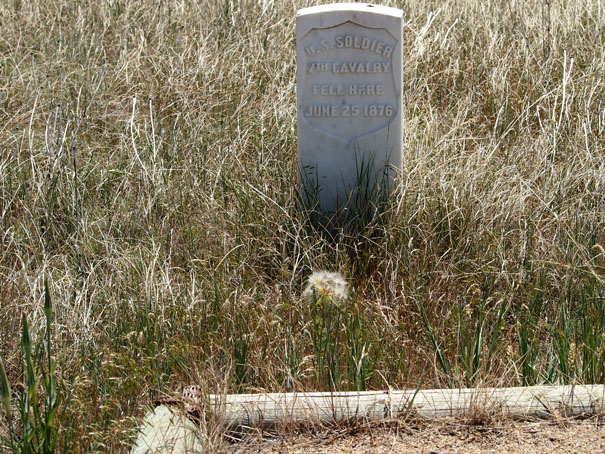
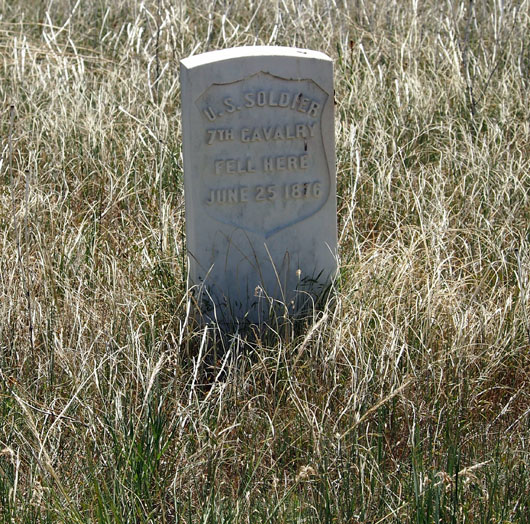
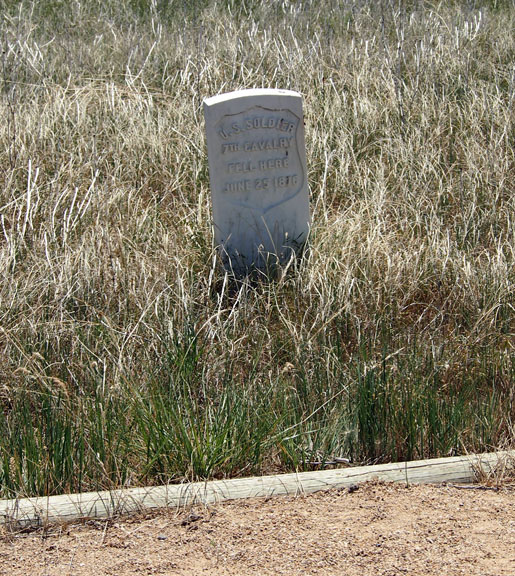
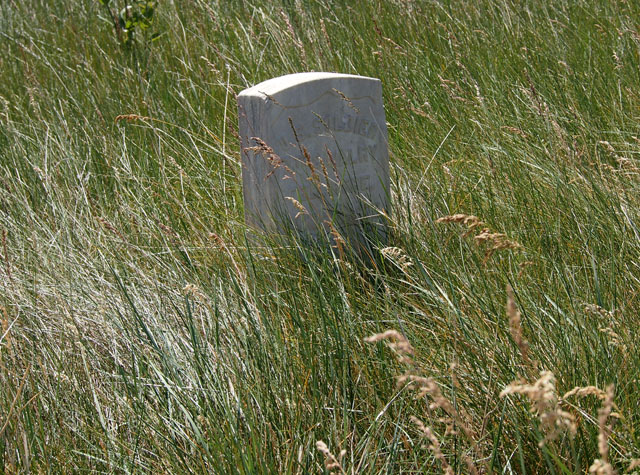
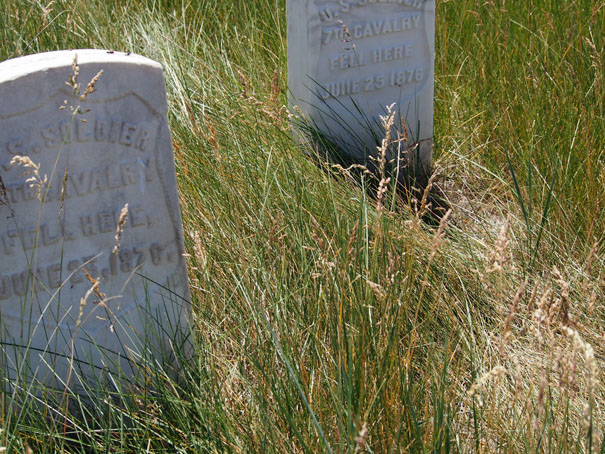
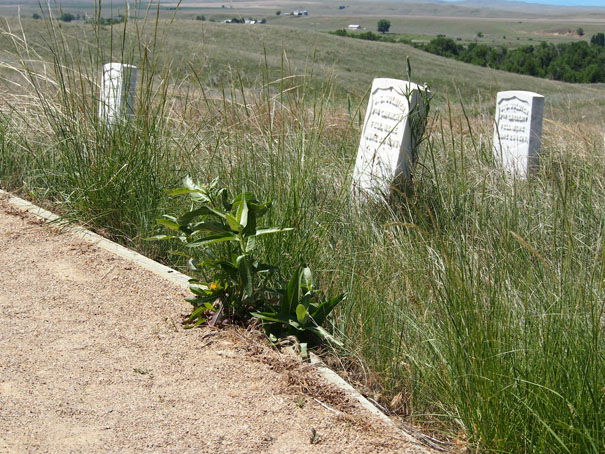
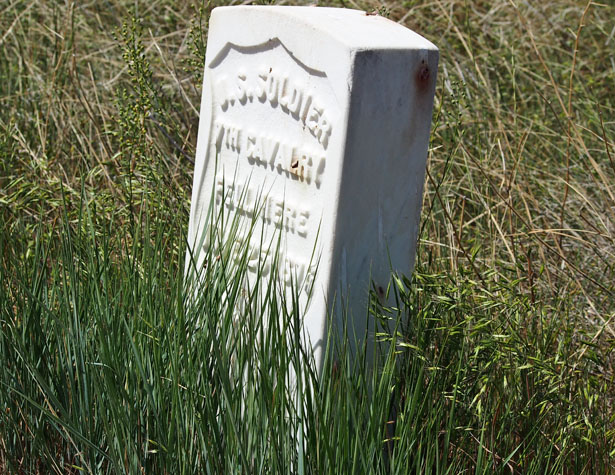
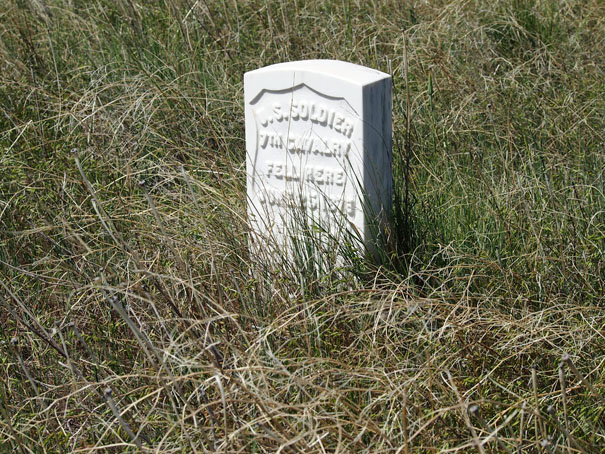
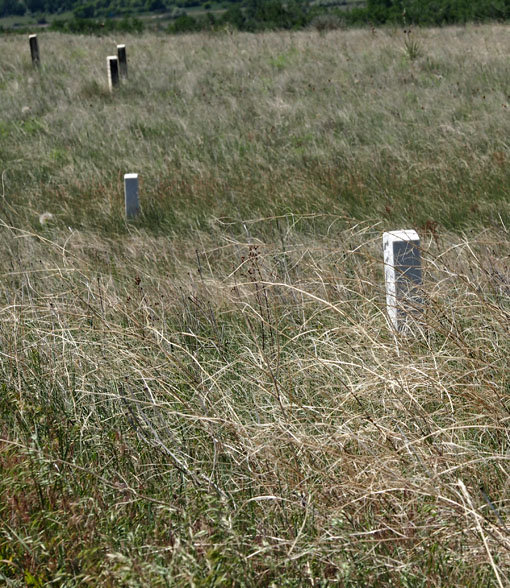
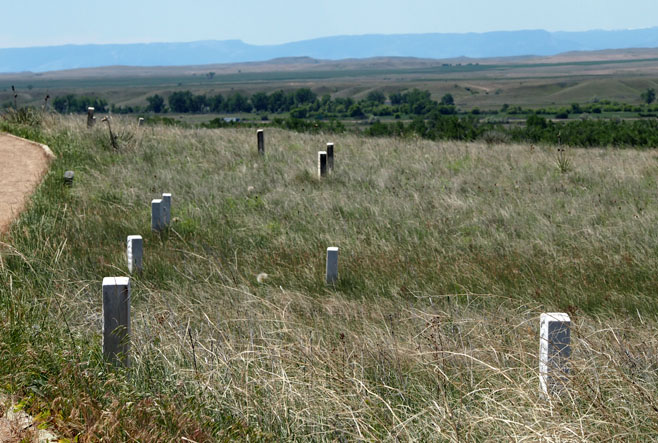
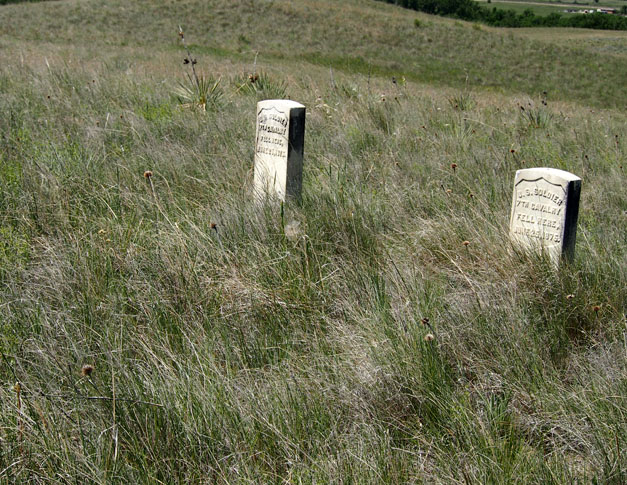
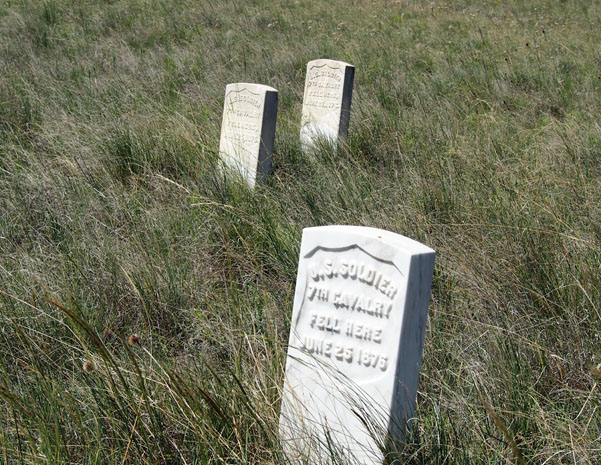
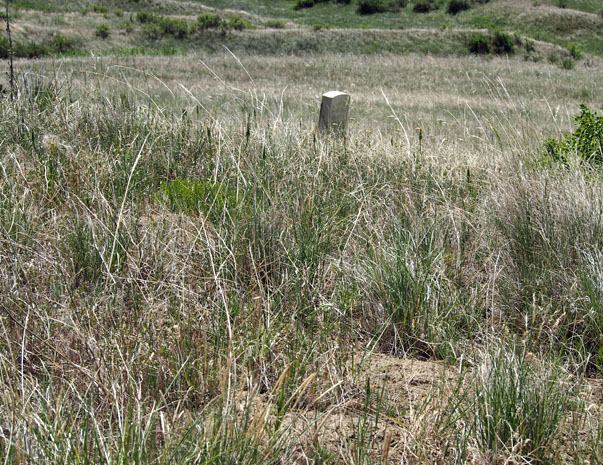
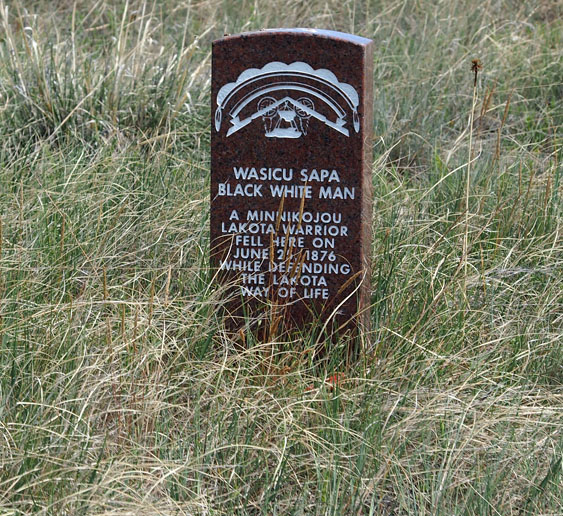
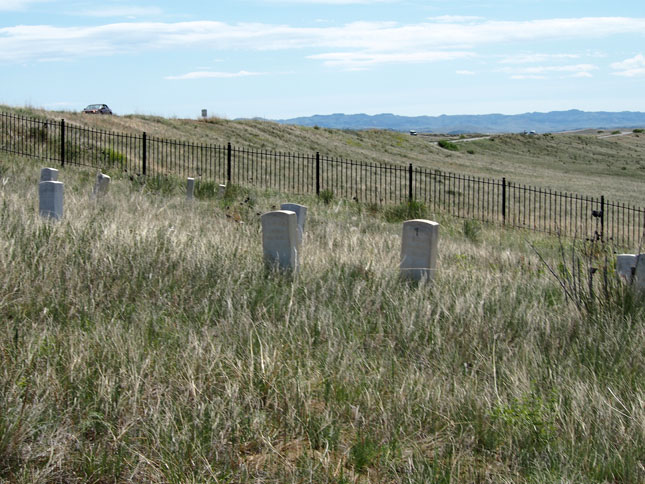
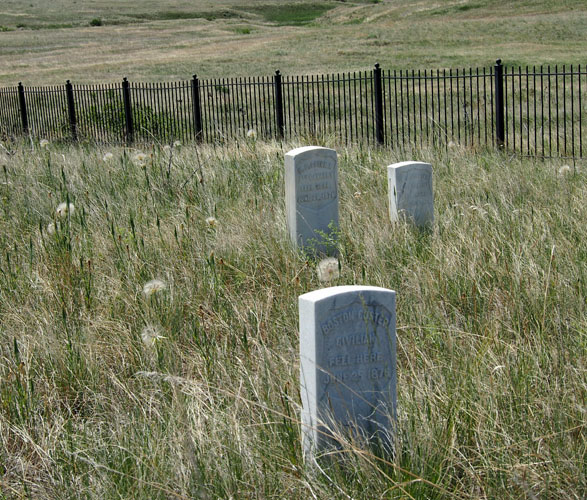
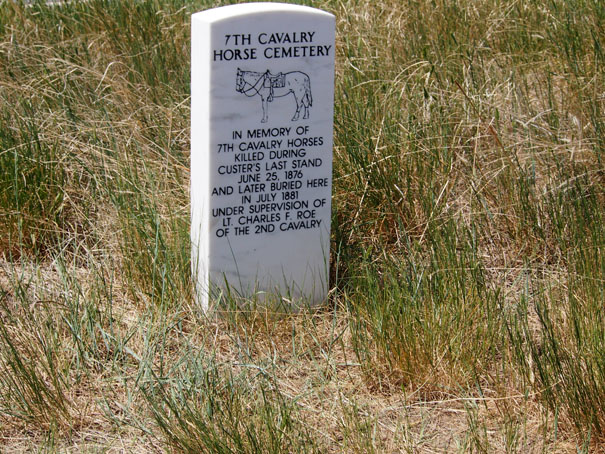
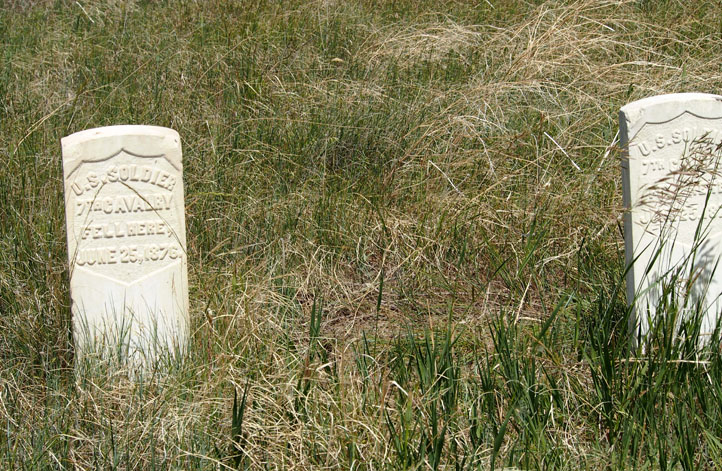
Soldiers were buried where they felled.
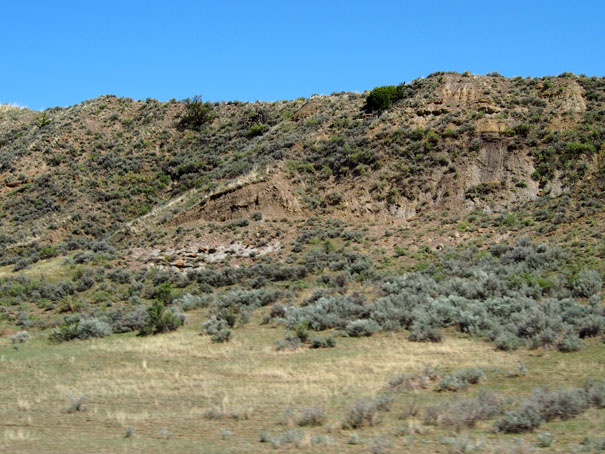
The Ravine
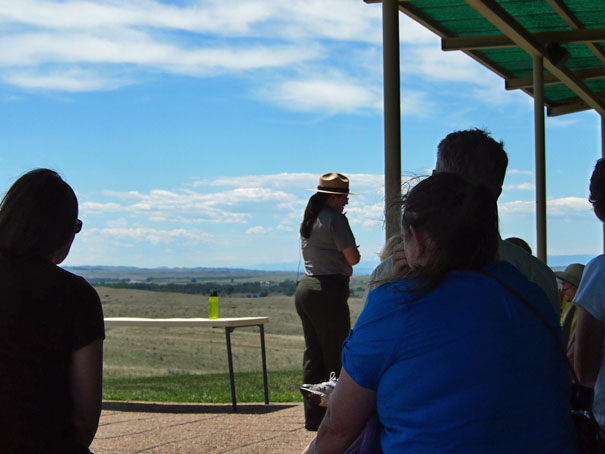
Ranger Discusses the Battle - Looking Down the Ravine


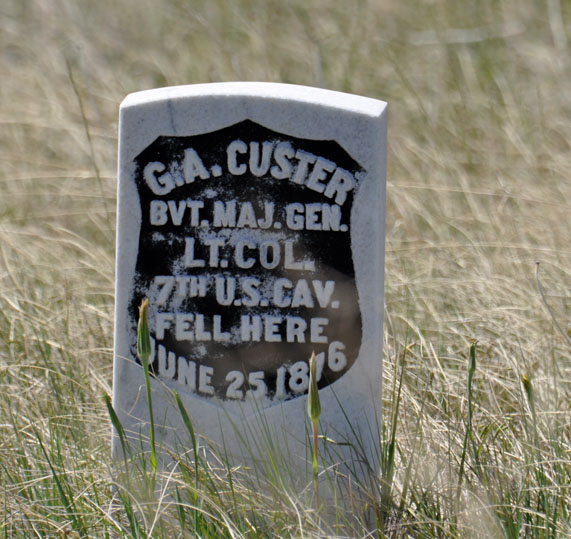
Grave of George Armstrong Custer
Monument at the top of Last Stand Hill

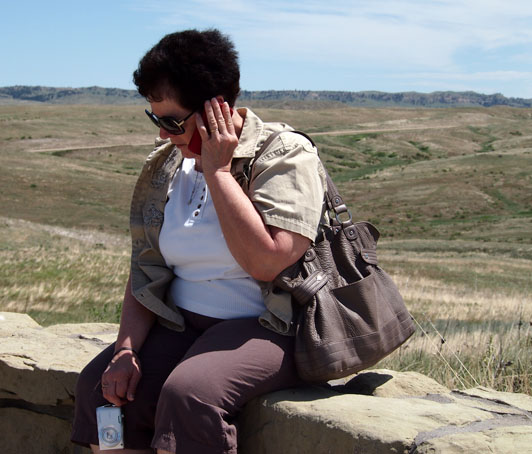
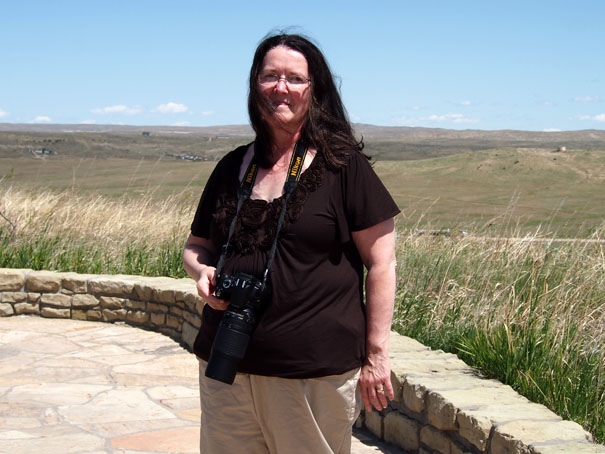
Janie
Bobbie
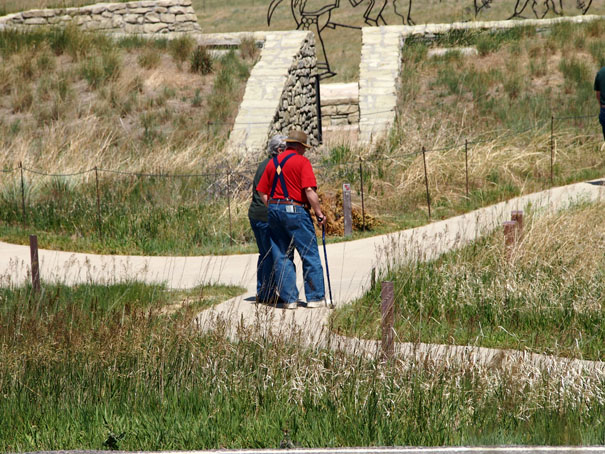
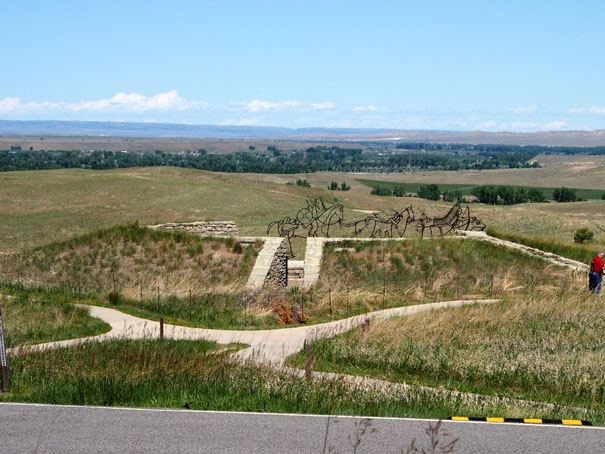
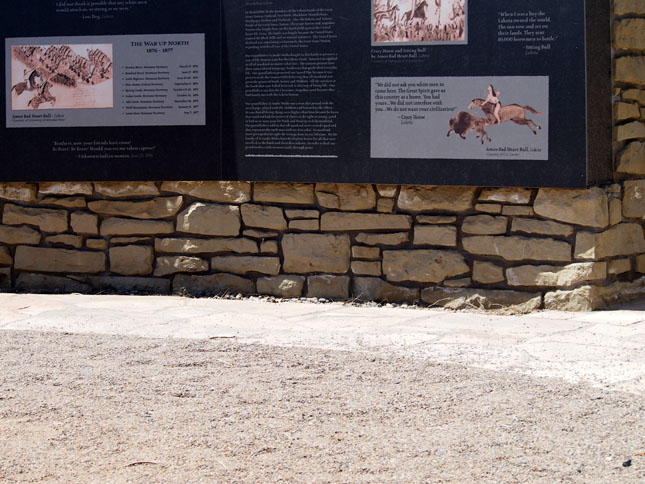
Native American Memorial
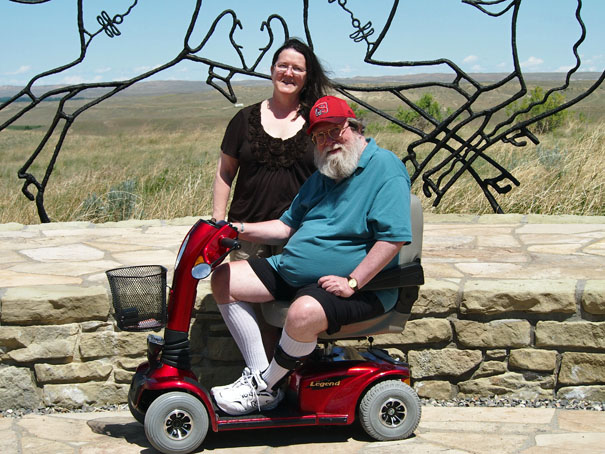
Bobbie and Bruce
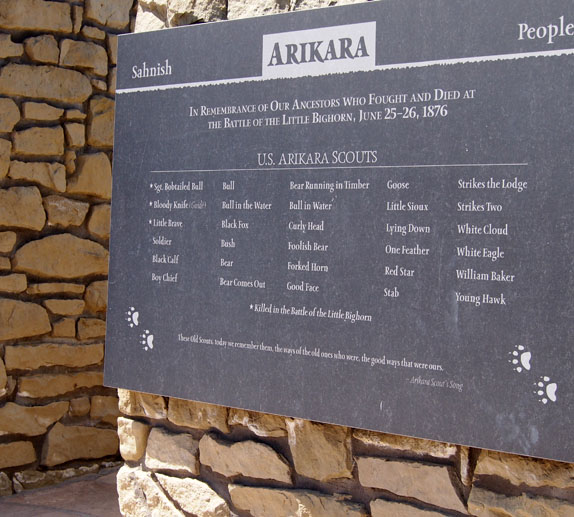
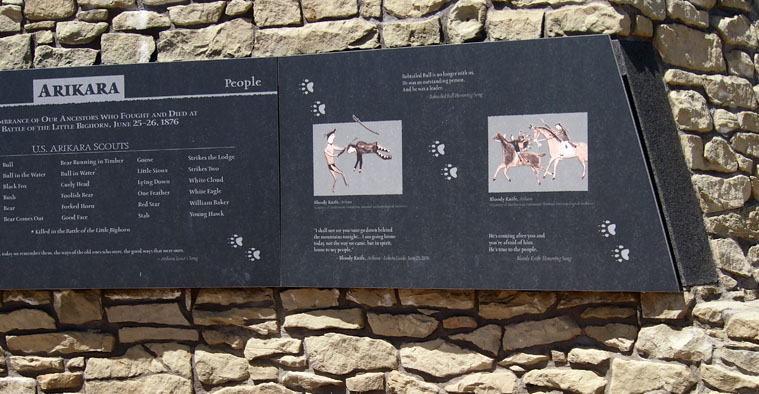
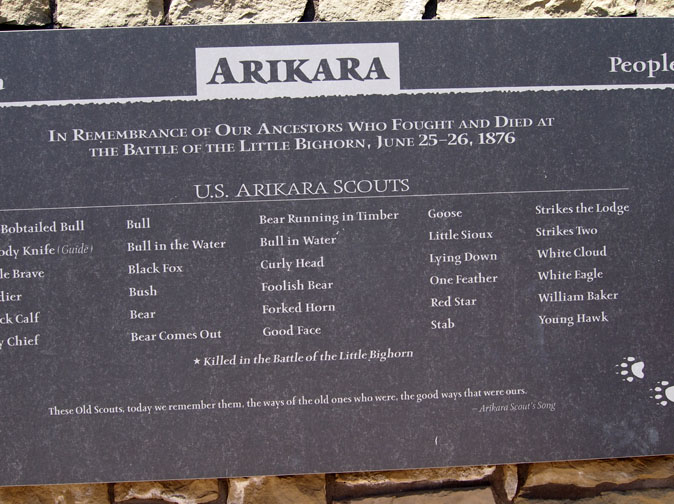
Arikara Scouts

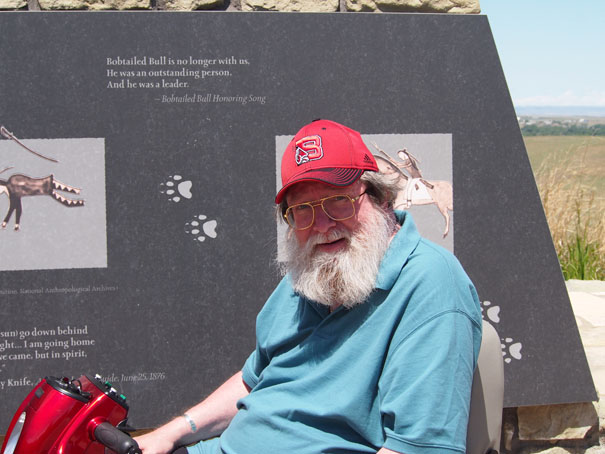
Bruce
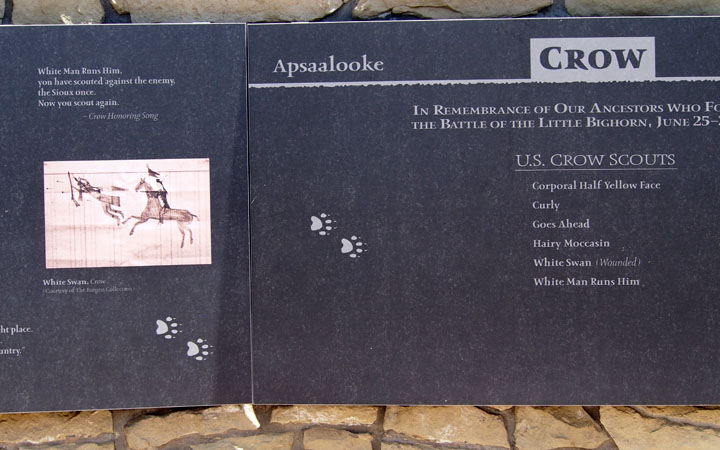
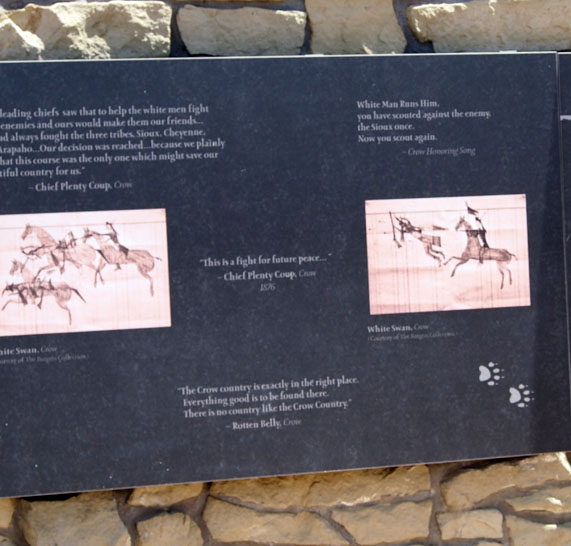
Crow Scouts
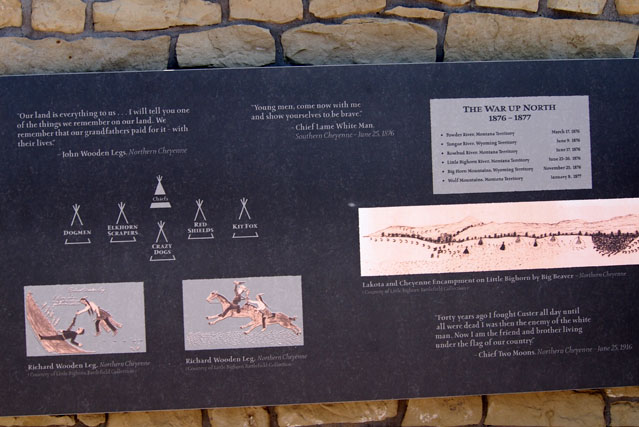
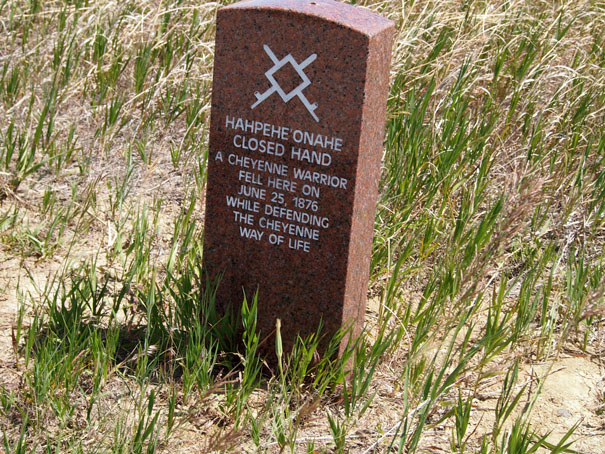
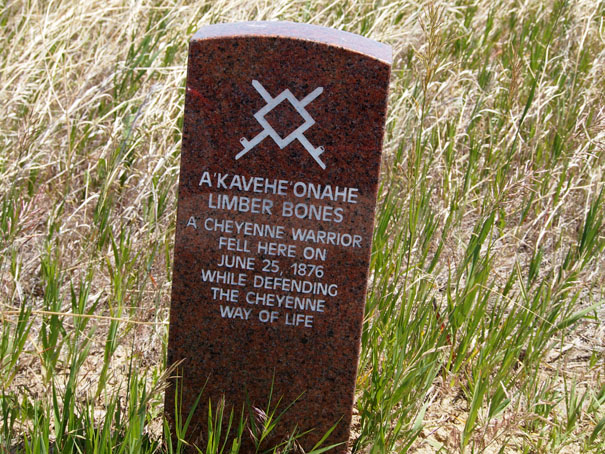
Cheyenne and Arapaho
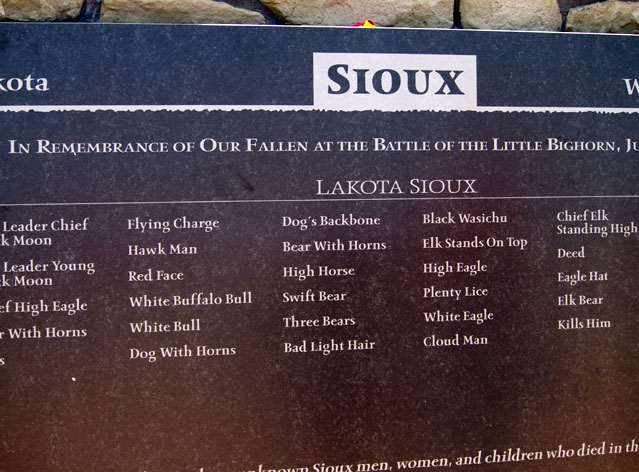
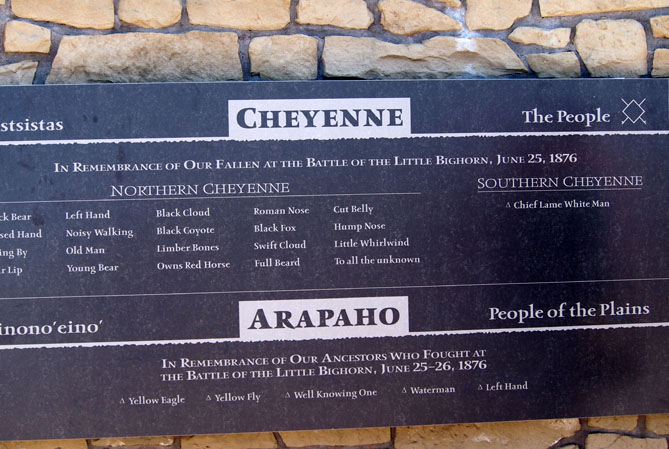
Lakota Sioux
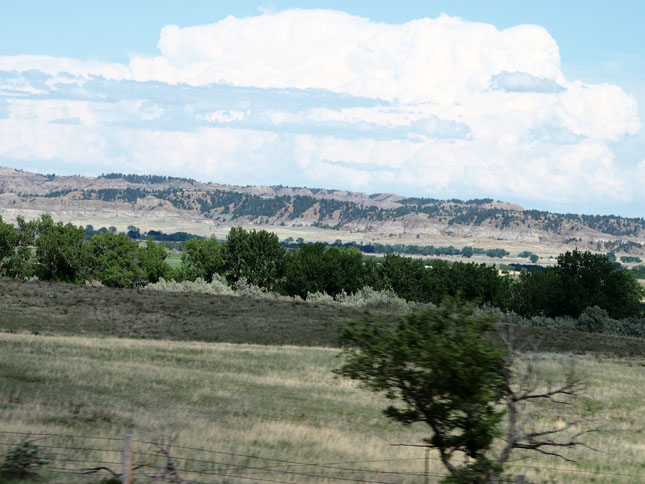
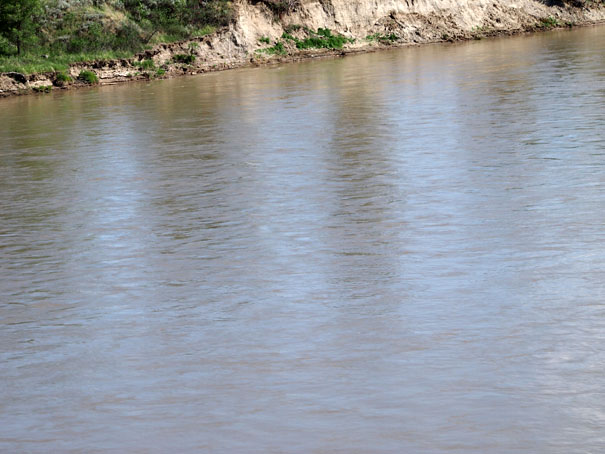
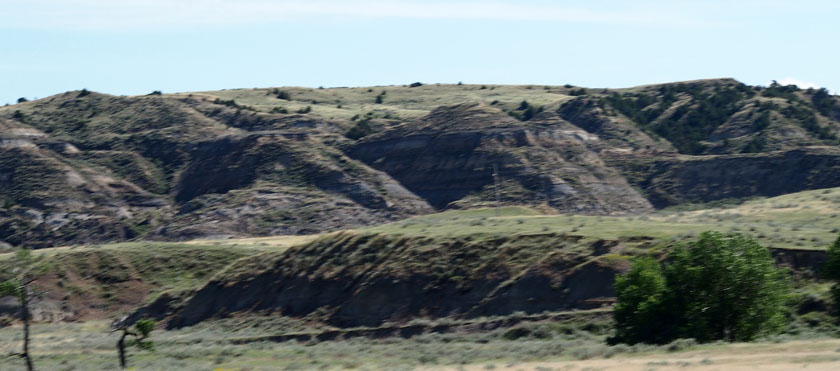
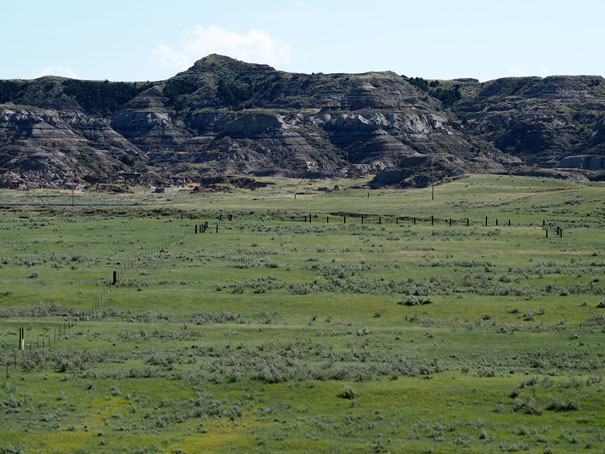
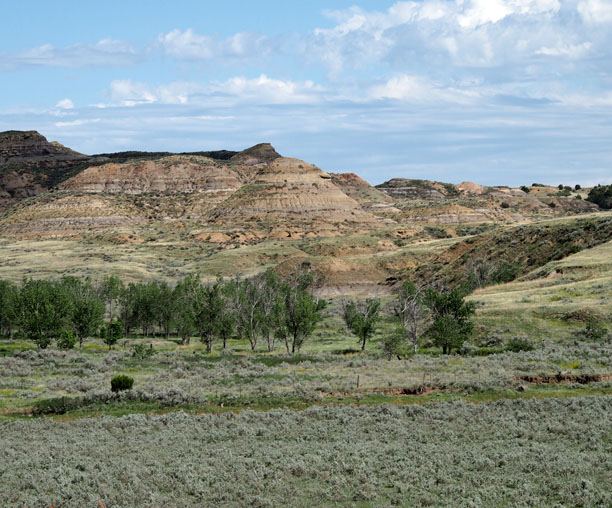
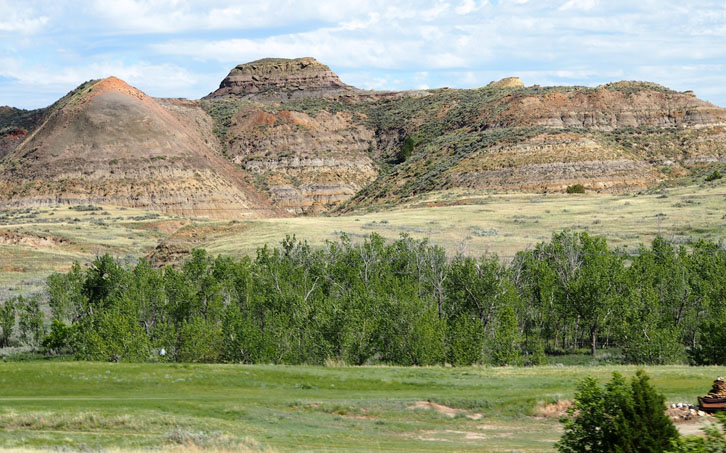
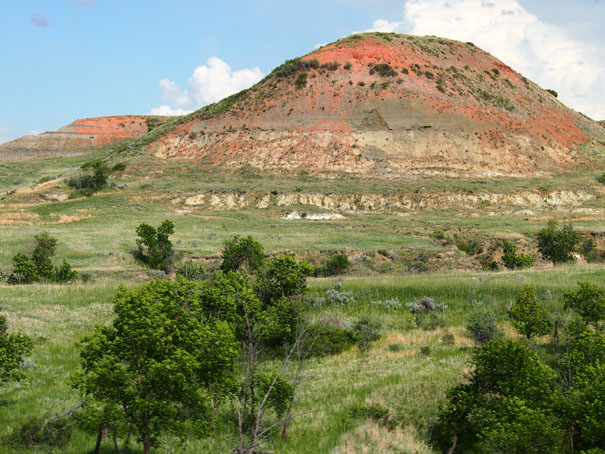
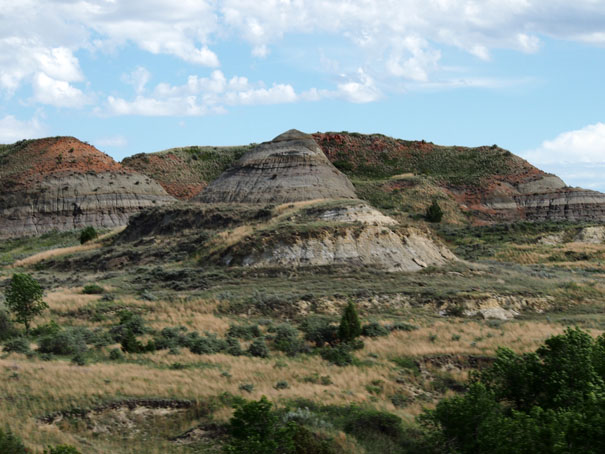
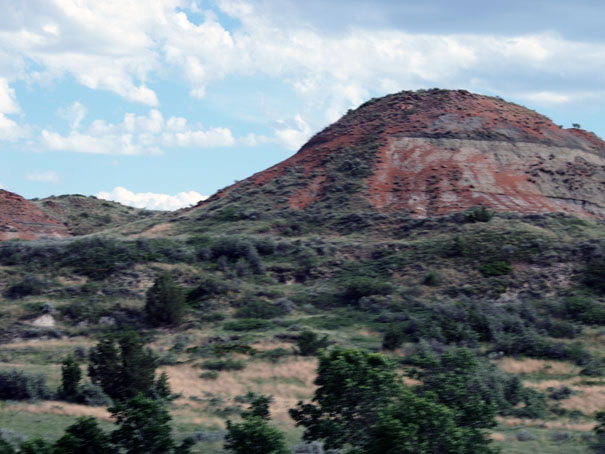
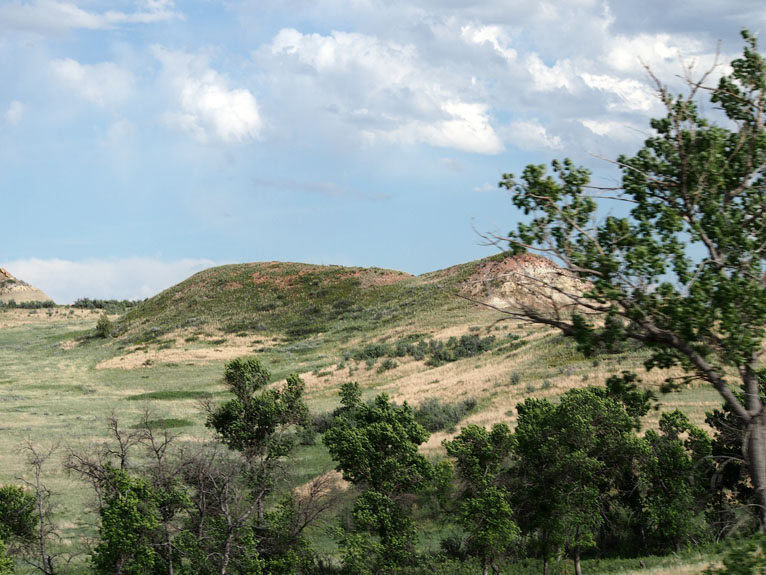
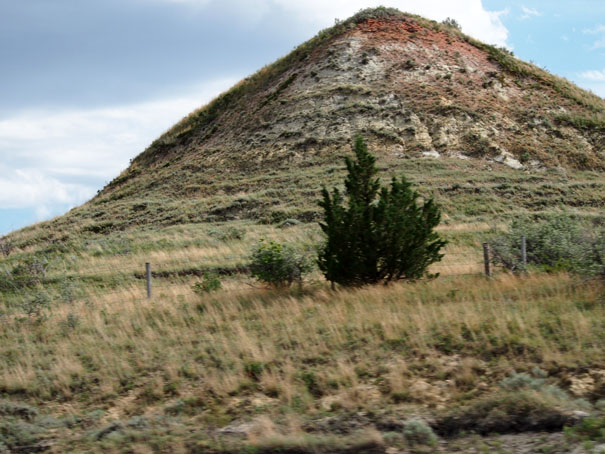
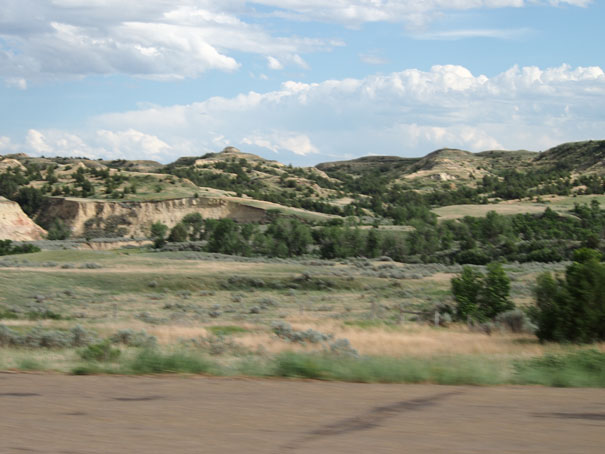
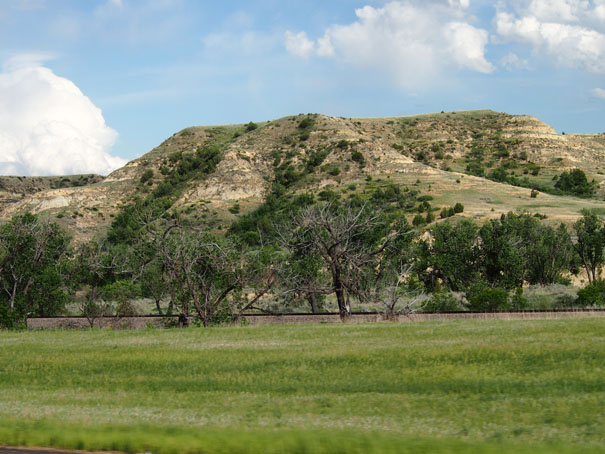
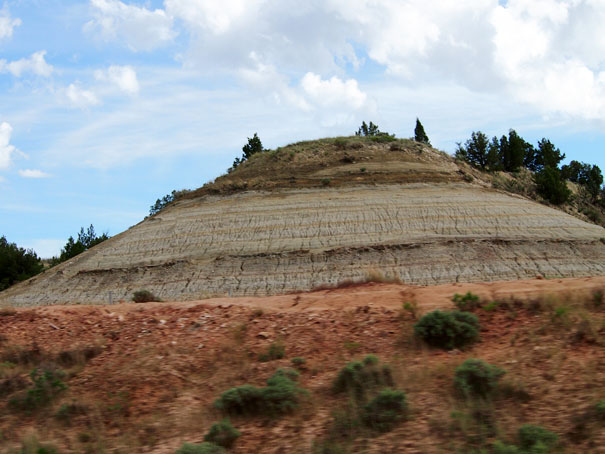
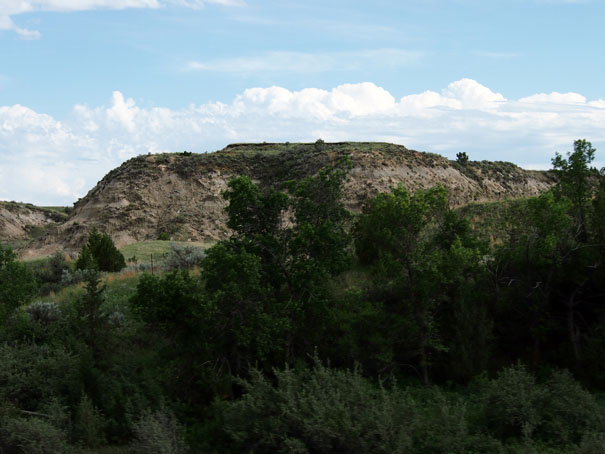
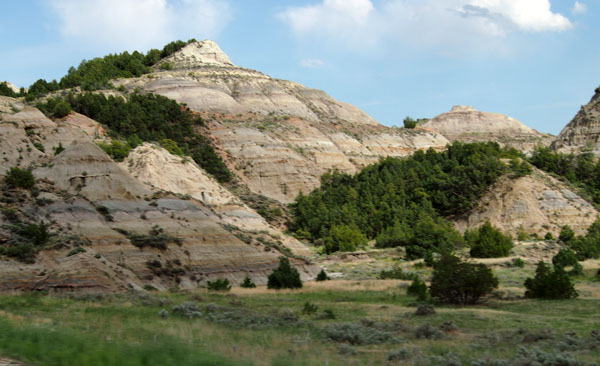
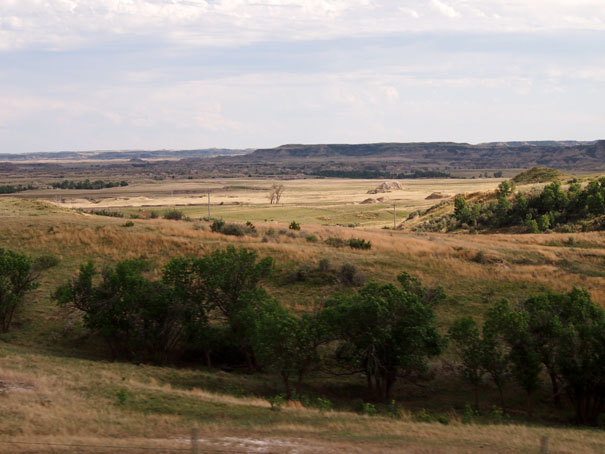
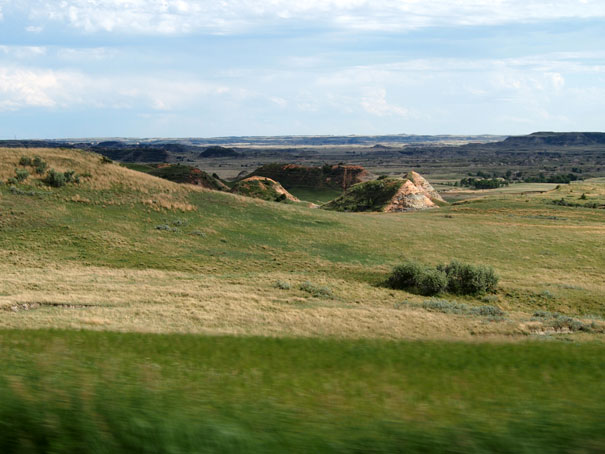
The Road to Bismarck, ND


Return to Bruce and Bobbie's Main Page.